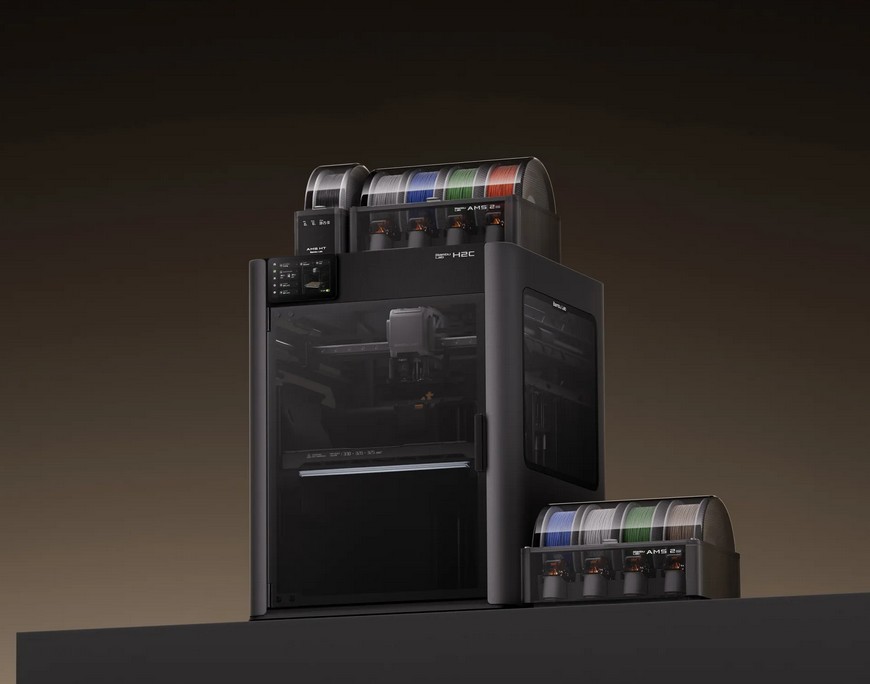
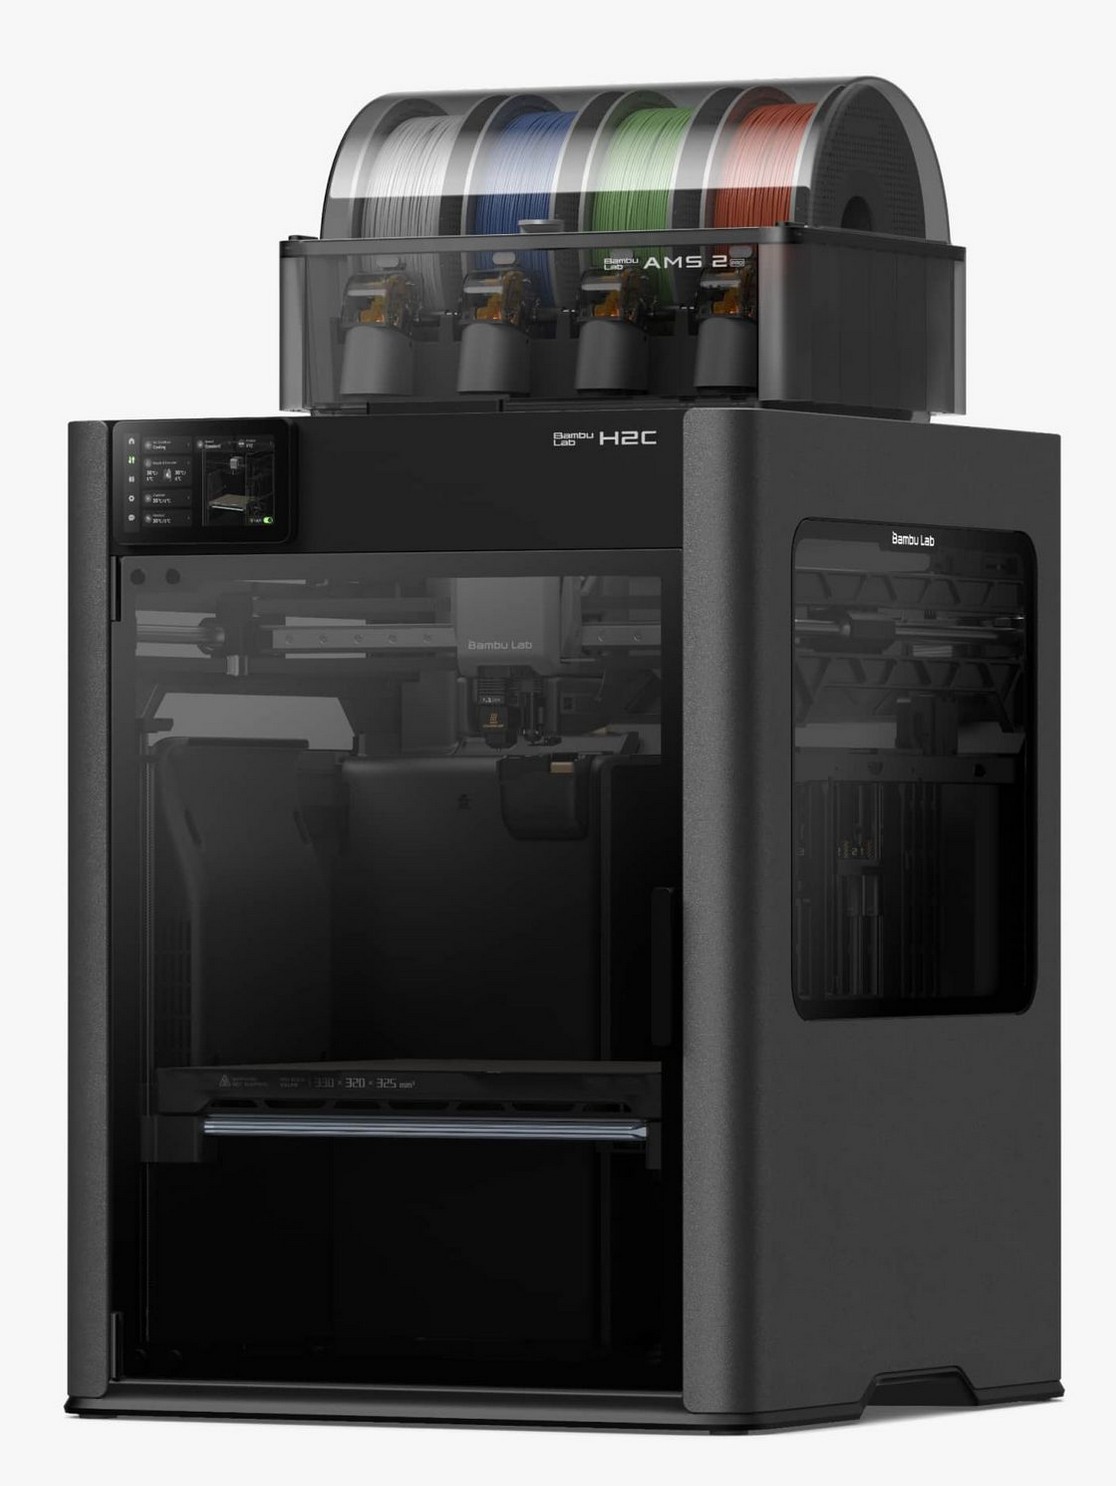
The Bambu Lab H2C 3D printer is its multi-material, multi-head workstation and one of the most fun devices we have reviewed. If you are into 3D printing, you will covet this.
Upfront, let me tell you that I have never reviewed a 3D printer, and the challenge is to give you a comprehensive review that you can base your $3699 (combo version) purchase on, or you can spend even more and get laser cutting and engraving retrofit for more versatility.
So I enlisted the help of Sam, a former plumber turned air ambulance pilot who happened to mention that he was seriously looking for a 3D printer. Both of us are newbies, and to a large extent, that is good, as we can relate our learning and findings. To a lesser extent, those familiar with 3D printing may eschew our words. But we guarantee these are honest experiences – no PR release or reviewers’ guide in sight.
Why 3D printing?
It is technically called Stereolithography – printing something one layer at a time, or Fused Deposition Modelling. Sounds simple – it ain’t. There is a lot of tech behind creating a 3D image and tearing it apart to allow a 3D printer to understand it. Fortunately, Bambu has Bambu Studio software for Windows, Mac, Android and iOS. It’s open source and free, and it allows a novice user to set up and start printing in minutes.
Who uses it?
There are at least two markets: the hobbyist and the professional. Sam and I fall into the hobbyist category with nothing more than an interest in the area. He is delighted that the Bambu H2C can print up to seven colours in one piece. Had he bought one, it would have done a lot less and cost a lot less, and he would have stopped smiling!
Hobbyists tend not to care about costs or economics – it’s the thrill of creating something.
- Items like cable clips, tool holders, drawer dividers, custom brackets, and decorative items.
- Miniatures, tabletop gaming figures, cosplay elements, and model cars/planes/ships or parts.
- Personalised gifts
- Art pieces for sale at markets
- Some feel that it could be turned into a home business.
- Hobbyists have shared millions of online designs (often at no cost), and there is a solid community willing to help.
The professional use is interesting.
- Rapid prototyping: New inventions and how they may work can be rapidly turned into a working device.
- Replacement parts: Hard-to-find or obsolete parts for appliances, tools, or other items. Easy if you know how.
- On-demand production: The Mars mission won’t be loaded with tools and parts, but 3D printers to produce them. I saw a demo of a shovel (took a few hours) that was more durable than a bought one.
- Design and produce complex, intricate objects that would be difficult or impossible with traditional manufacturing.
- Prosthetics and medical devices are increasingly 3D printed and have the same strength as carbon fibre.
- To build houses (concrete 3D printers)
I can see the time coming when every home, shop and office has a 3D printer, and it will be part of your daily life.
3D Community and printing sources
You should start by browsing Makers World, Printables and Thingiverse, where millions of 3D users have shared their work. Most are free to use, but copyright vests with the creator, so there may be restrictions on printing and selling their work.
Then there are the endless Reddit, user forums and maker forums.
Make your own 3D models – what pro users do
Using other people’s achievements is a great start, but if you want something individual or personalised, you can create your own. This is more advanced, but there are free CAD programs and lots of online help to get started.
Every 3D print starts with a 3D model, usually done on CAD (computer-aided design) software. We won’t copy others’ work, so have a read of this post, How to make a 3D model for printing.
There are free CAD programs, Slicers (Bambu has one), and be prepared to make a few mistakes. There are smartphone apps like Polycam, Kiri Engine, and RealityScan that can use the iPhone 12 Pro or later LiDAR to make a 3D model.
Remember that every 3D printer plan started here.
Green credentials
3D printing is an additive manufacturing process. There is no waste in milling a larger block of material to shape; the H2C can produce independently moving and interlocked pieces. It uses biodegradable, eco-friendly thermoplastic PLA (Polylactic Acid) filaments. If you need more durability, ABS, PETG, or Nylon filaments are available.
Australian First Look and Unboxing: Bambu Lab H2C 3D printer and AMS 2Pro Filament box
As of 10/1/26
| Website | Product Page |
| RRP/January special | $3699 with AMS 2 Pro filament box $4762/4499 with 2 AMS 2 Pro and additional Hotends $4679/4599 10W Laser Upgrade $5706/5399 10W wth extra AMS2 Pro and Hotheads $5729/5599 40W Laser Upgrade $6756/6399 40W wth extra AMS2 Pro and Hotheads AMS 2 Pro (if purchased separately) $569/529 PLA Filament from $17.04 per 1kg roll Hotends from $29.99 to $59.98 |
| Warranty | 12-months ACL Extended warranty packages (AU only) $299 one-year $419 two-year Warranty can be accessed from Bambu or via an authorised reseller Live Chat |
| Company | Bambu Lab (Wikipedia), founded in 2019, is a leading 3D printer company founded by Dr Ye Tao and four other former DJI engineers, applying their expertise from drones to consumer 3D printing. It remains privately owned with significant funding from venture capital firms like IDG Capital, Tencent Investment, Temasek, 5Y Capital and True Light Capital. Tao is the CEO; its ownership involves these investors and the founding team. It is based in Shenzhen, China, with its western headquarters in Austin, Texas. |
| More | Baumb Labs’ success is due to its software Bambu Studio (free), Bambu Handy (free), Bambu Suite (free), Bambu Farm Manager (commercial – manages multiple printers), Bambu Connect (hobbyist- manages multiple printers) and Cyberbrick (print and control RC models). Its power comes from the cloud, where it is constantly updated instead of static apps and software. Its user acceptance comes from the largest repository of information and how-tos of any maker. |
| We have no 3D resources, but we reviewed LaserPecker LP5 smart dual laser cutter/engraver – groovy man, and we have the LX2 laser engraver review almost finished. |
Where to start?
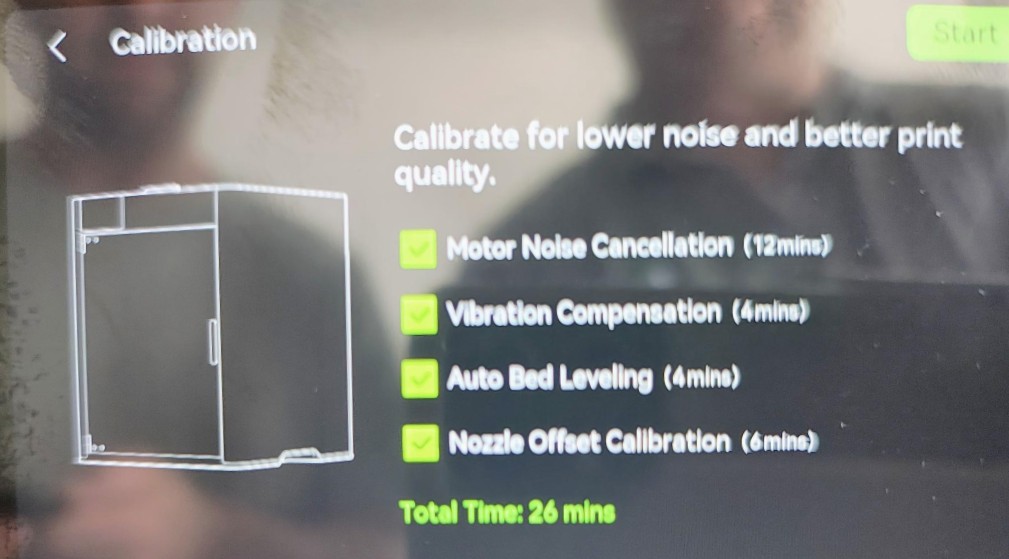
Sam and I were lucky. The Bambu H2C may be one of the world’s best, but its impressive power and design make it far easier for beginners than a single filament machine.
But we suggest you watch this 20-minute video first (it is worth it)
The most comprehensive 30-minute video review we have seen:
Bambu Range – huge
Bambu Labs is one ot the most purchased and established brands. They have H, X, A and P series. The review is the Bambu Labs H2C for A$3699. Call it the Rolls-Royce. As you go down in price, you lose multi-colour online, slower speeds, n-ups, zero purge (less waste), camera monitor, etc.
The point is that you may not need the best, but as Sam has said, once you try it, you cannot go back.
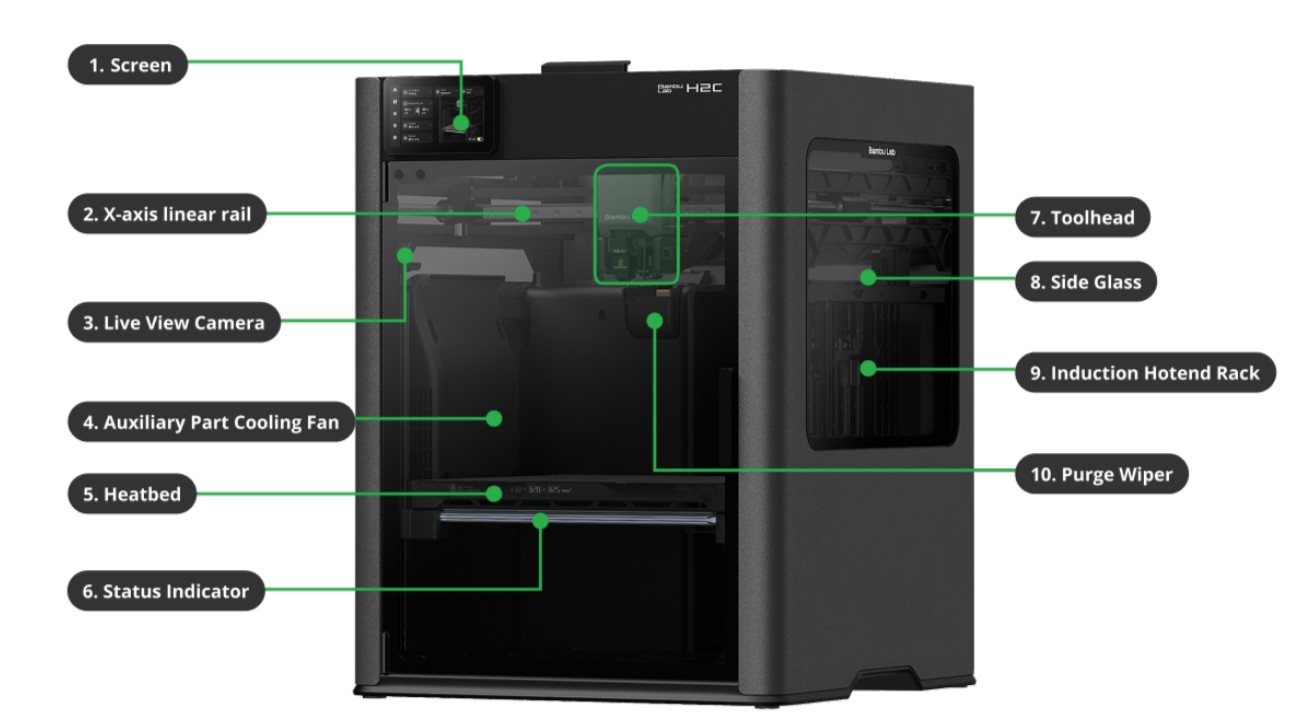
Bambu Lab H2C 3D printer base specs (and what they mean)
Unboxing/assembly
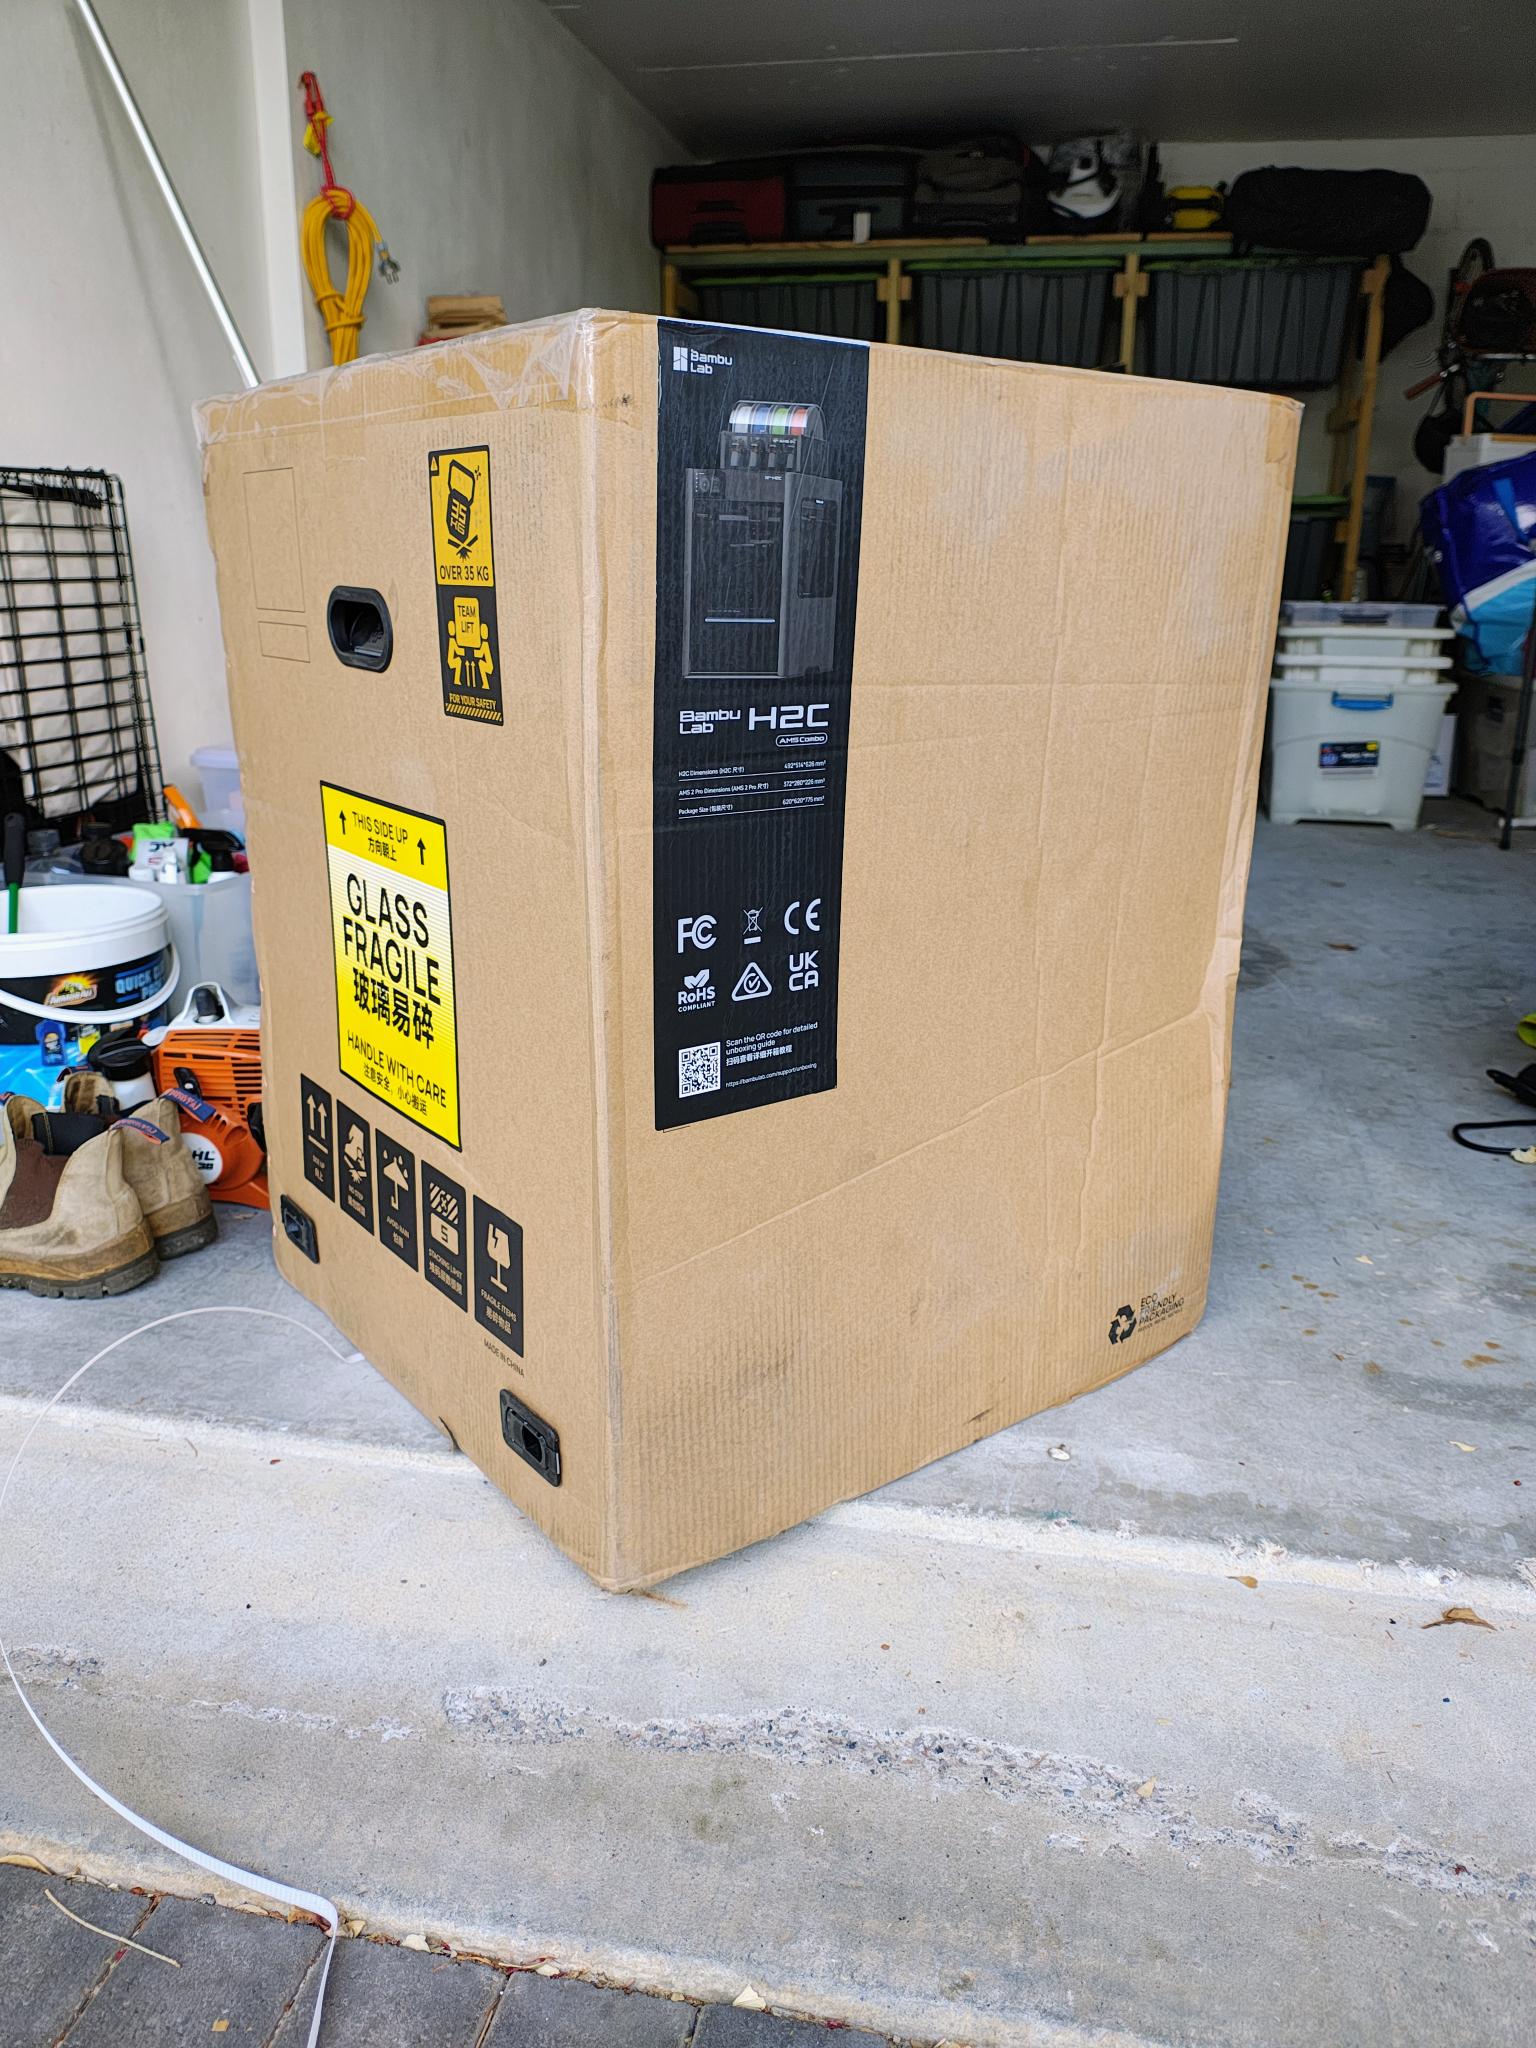
It weighs 32.5kg, so it’s a two-person lift. Make sure you are home when the courier delivers it.
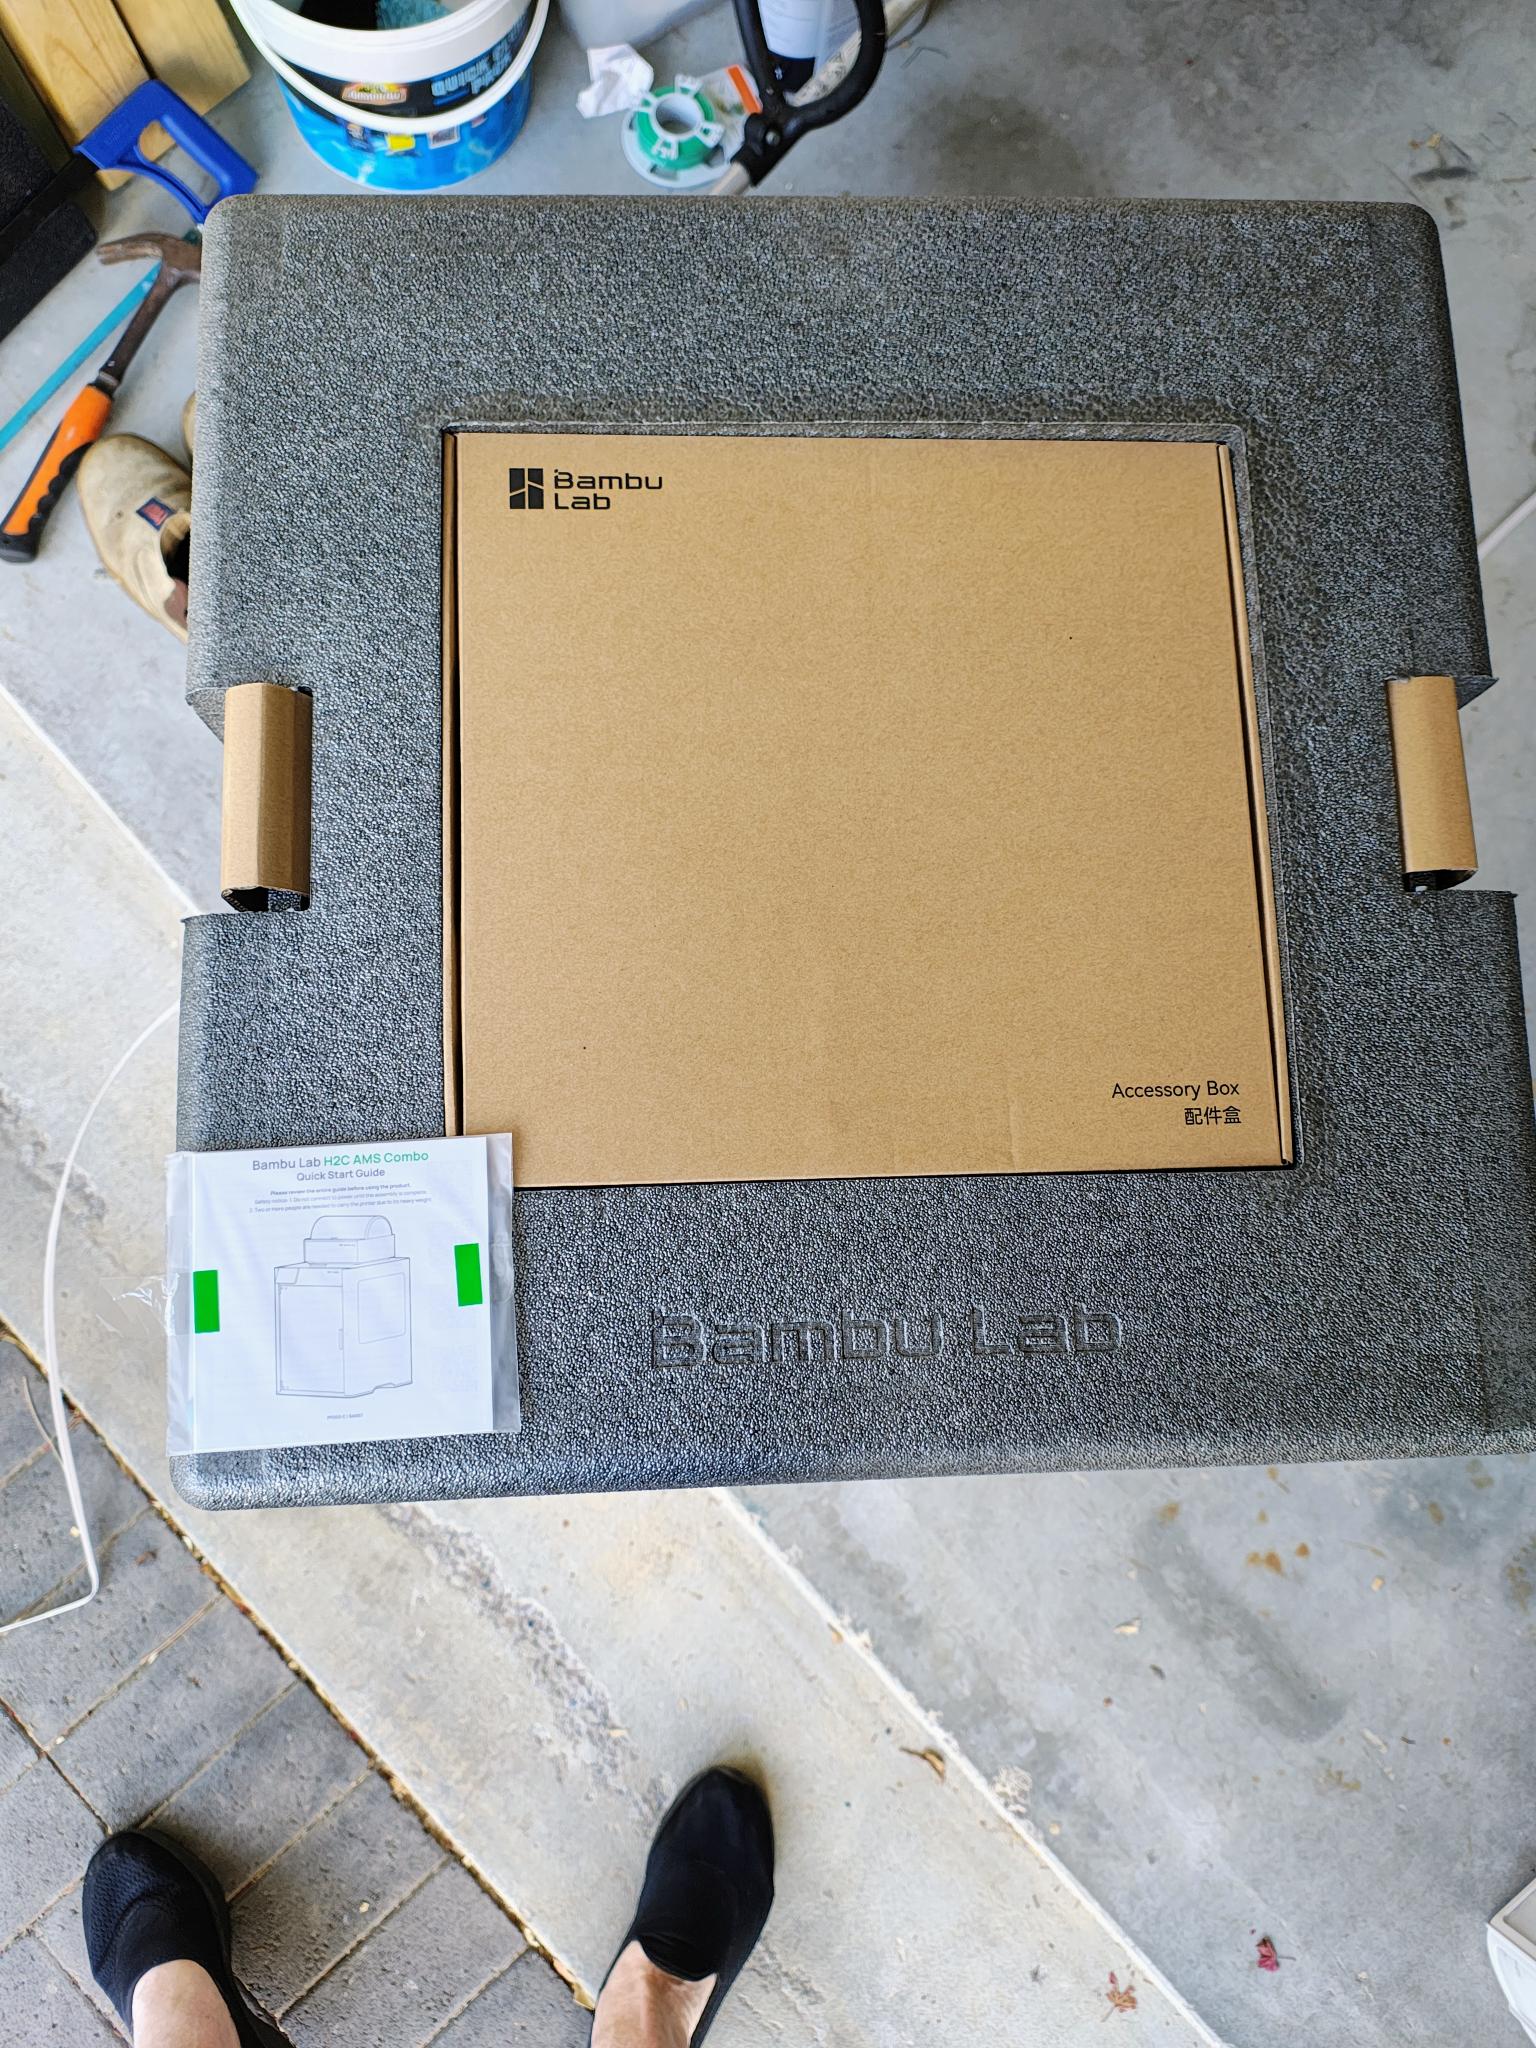
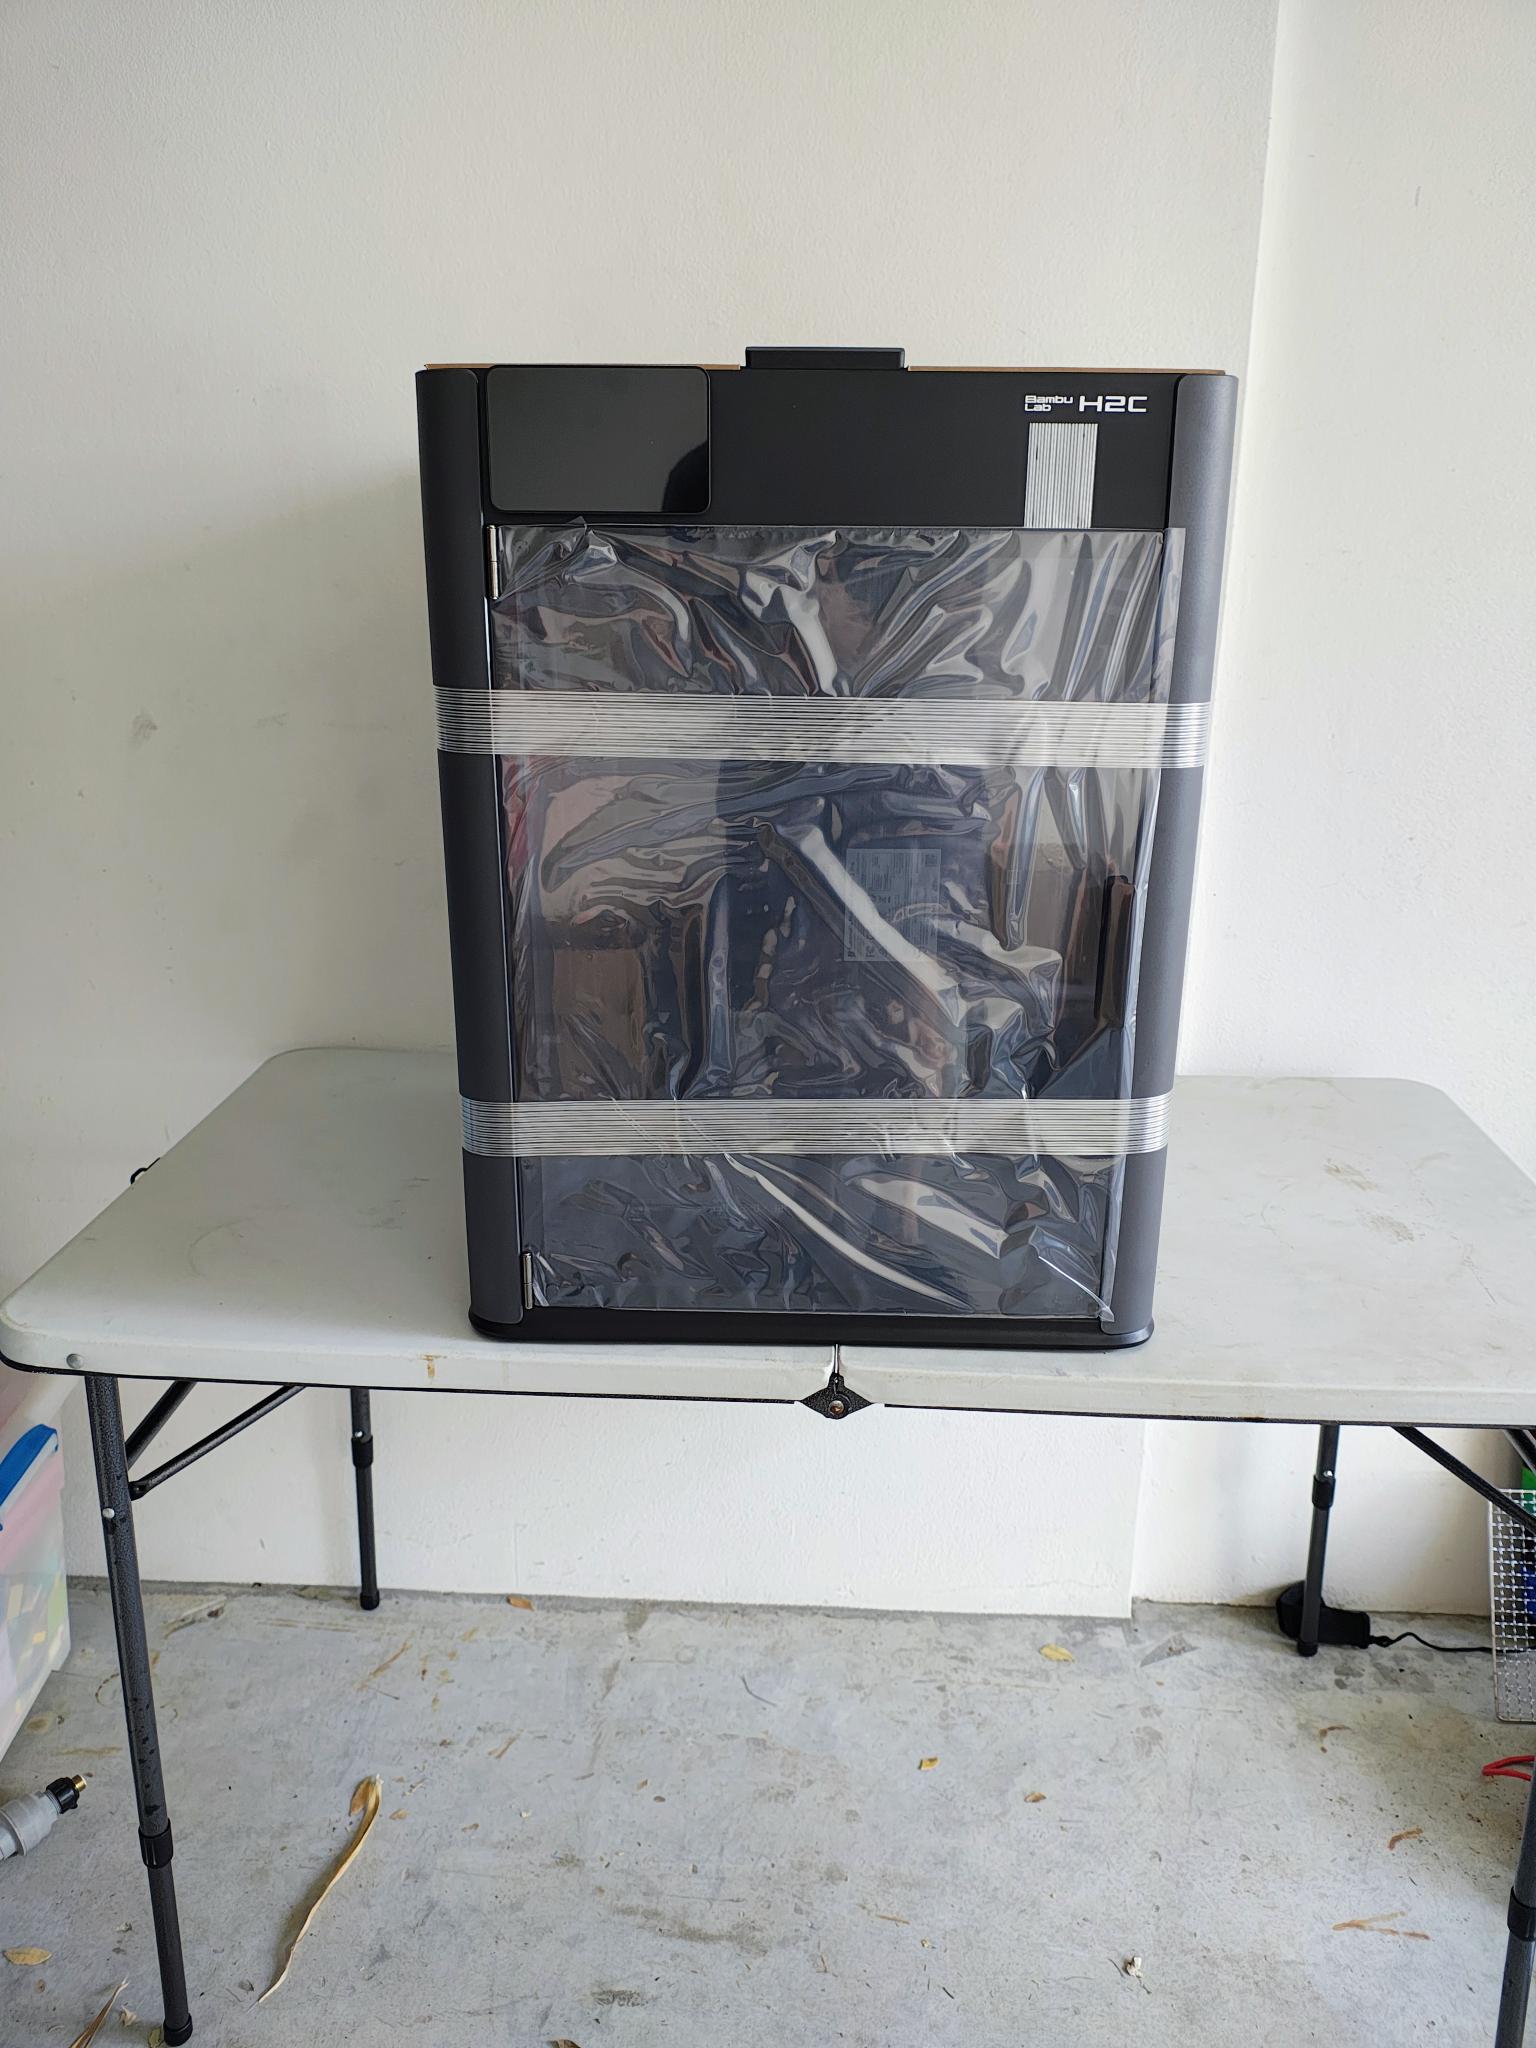
It’s pretty straightforward. Unclip the four bottom carton clips, lift the box off, and it’s all very nicely packed. Our model had the AMS 2 Pro Filament box as well (more later).
Bambu has a Wiki that contains more than you need. Its Unboxing guide is foolproof. It has an allen key to undo shipping bolts.
In the box is everything you need apart from filament (more later). Let’s explain a few items.
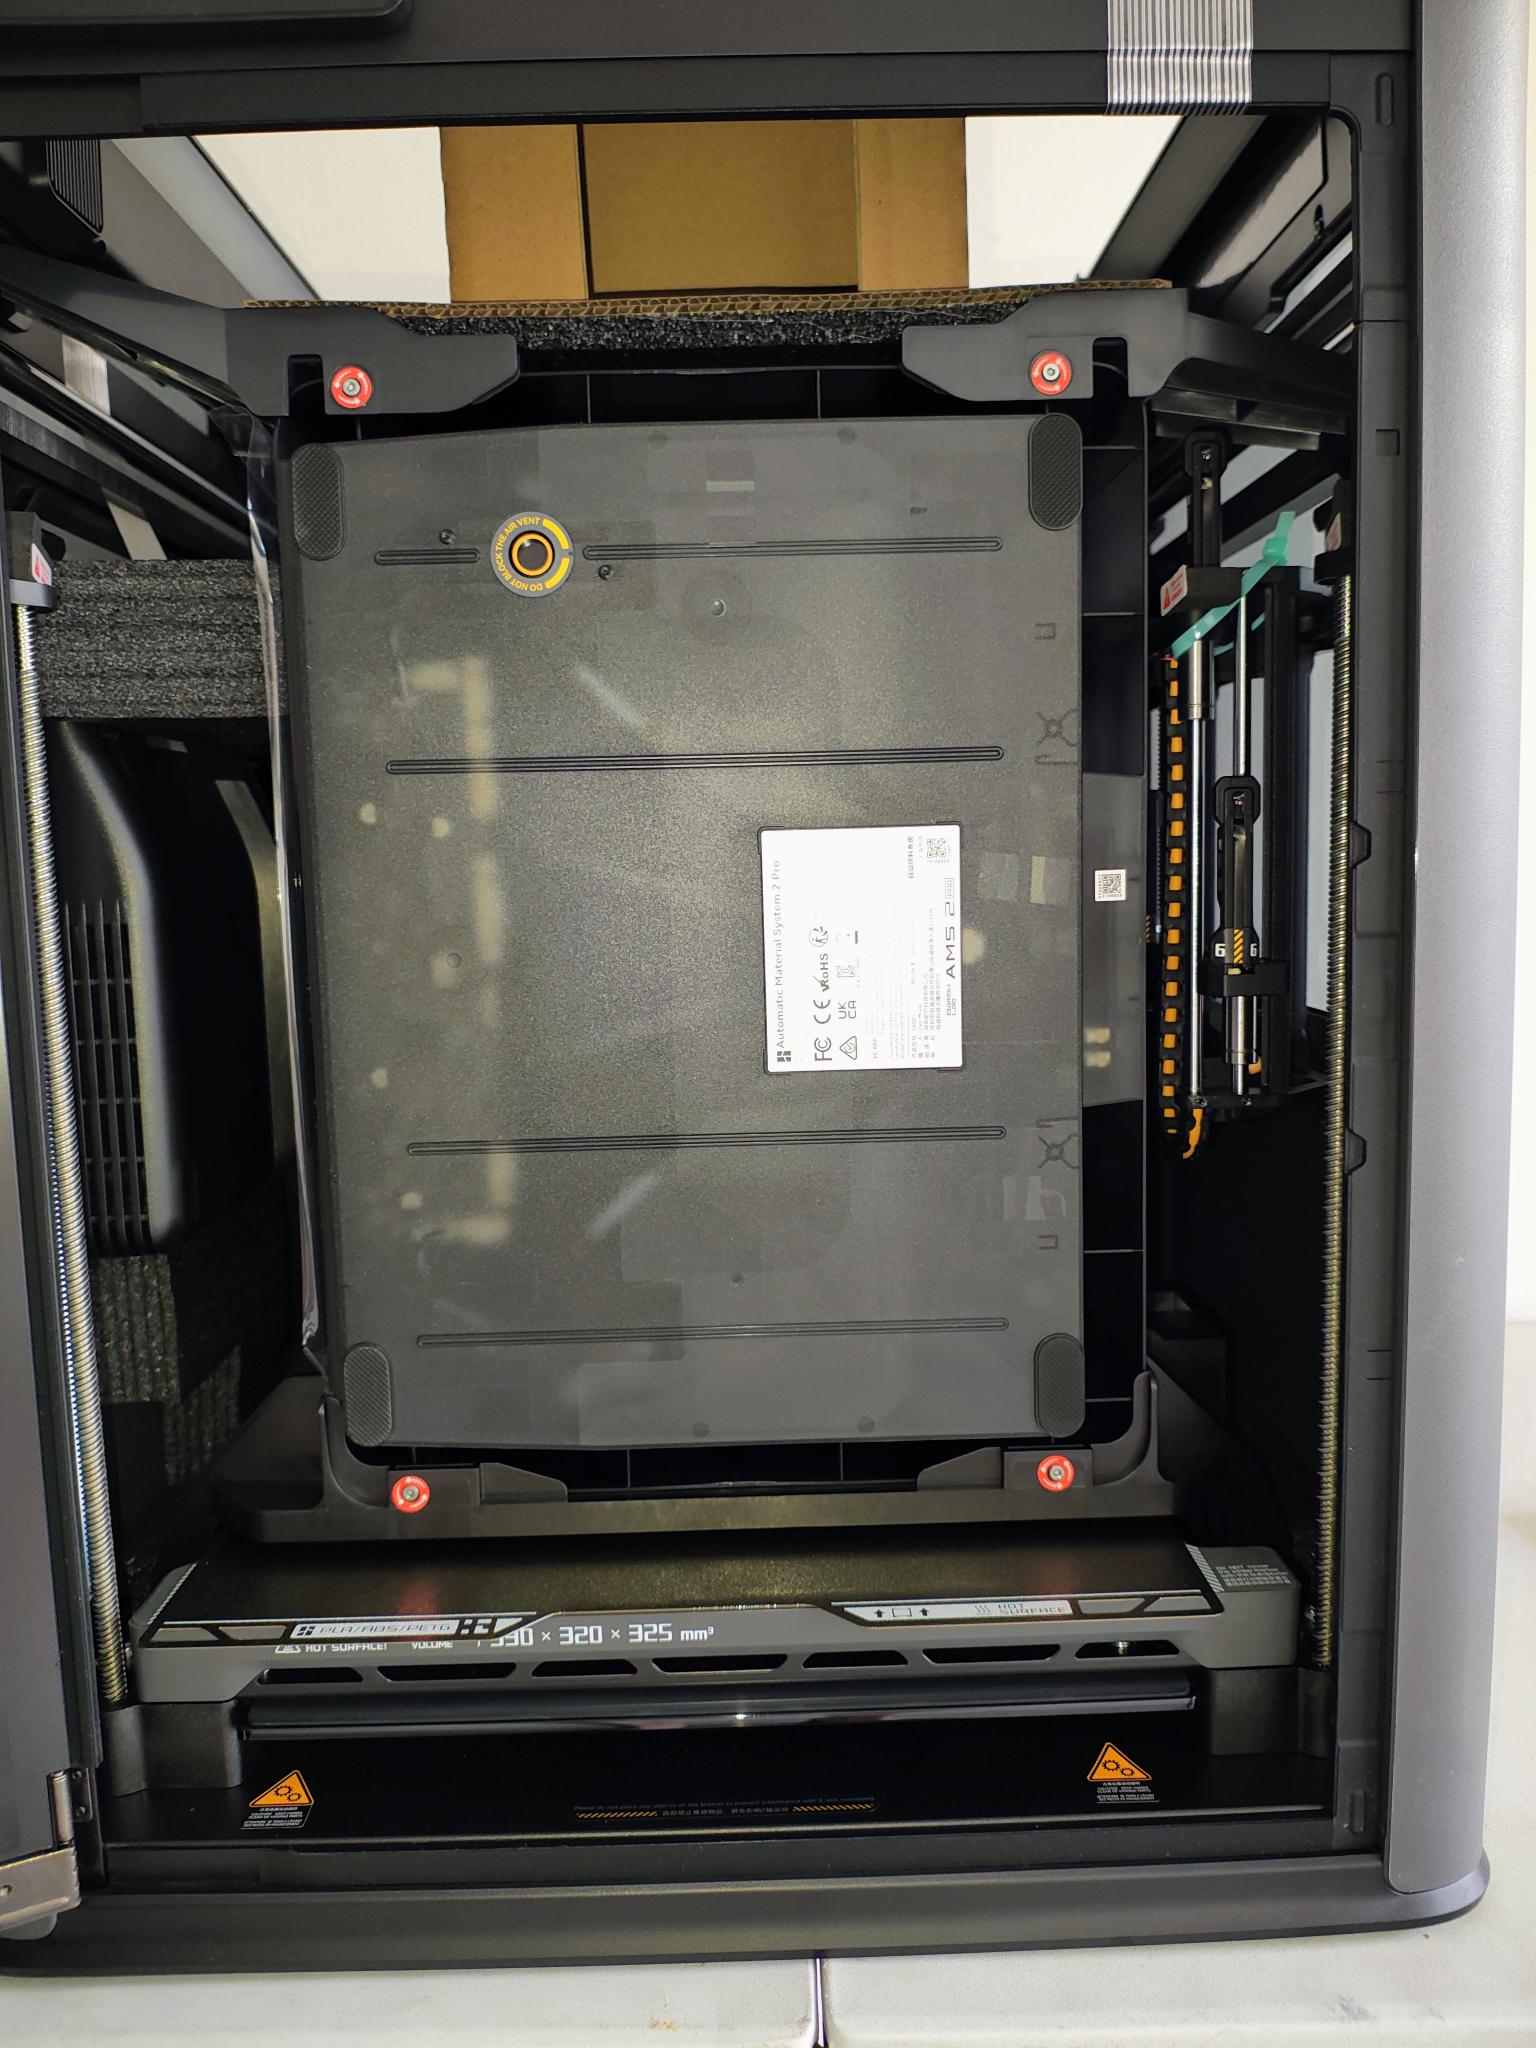
- 4 x 0.4mm + 1 x 0.2mm + 1 x 0.6mm Induction Hotends. These are the hot swappable hotends for the different coloured and sized filaments. There are certain limitations to mixing filament diameters.
- 2 x 0.04 Hardened Steel Hotends for different types of filament
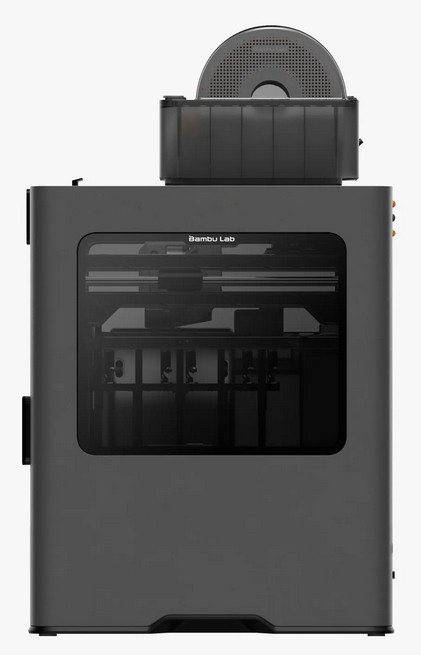
- AMS 2 Pro four filament roll holder (sits on top) and a manual filament roll holder.
If you buy the H2C laser full combo, an extra (retrofittable) 10 and 40W laser and various engraving and cutting accessories.
Size and location
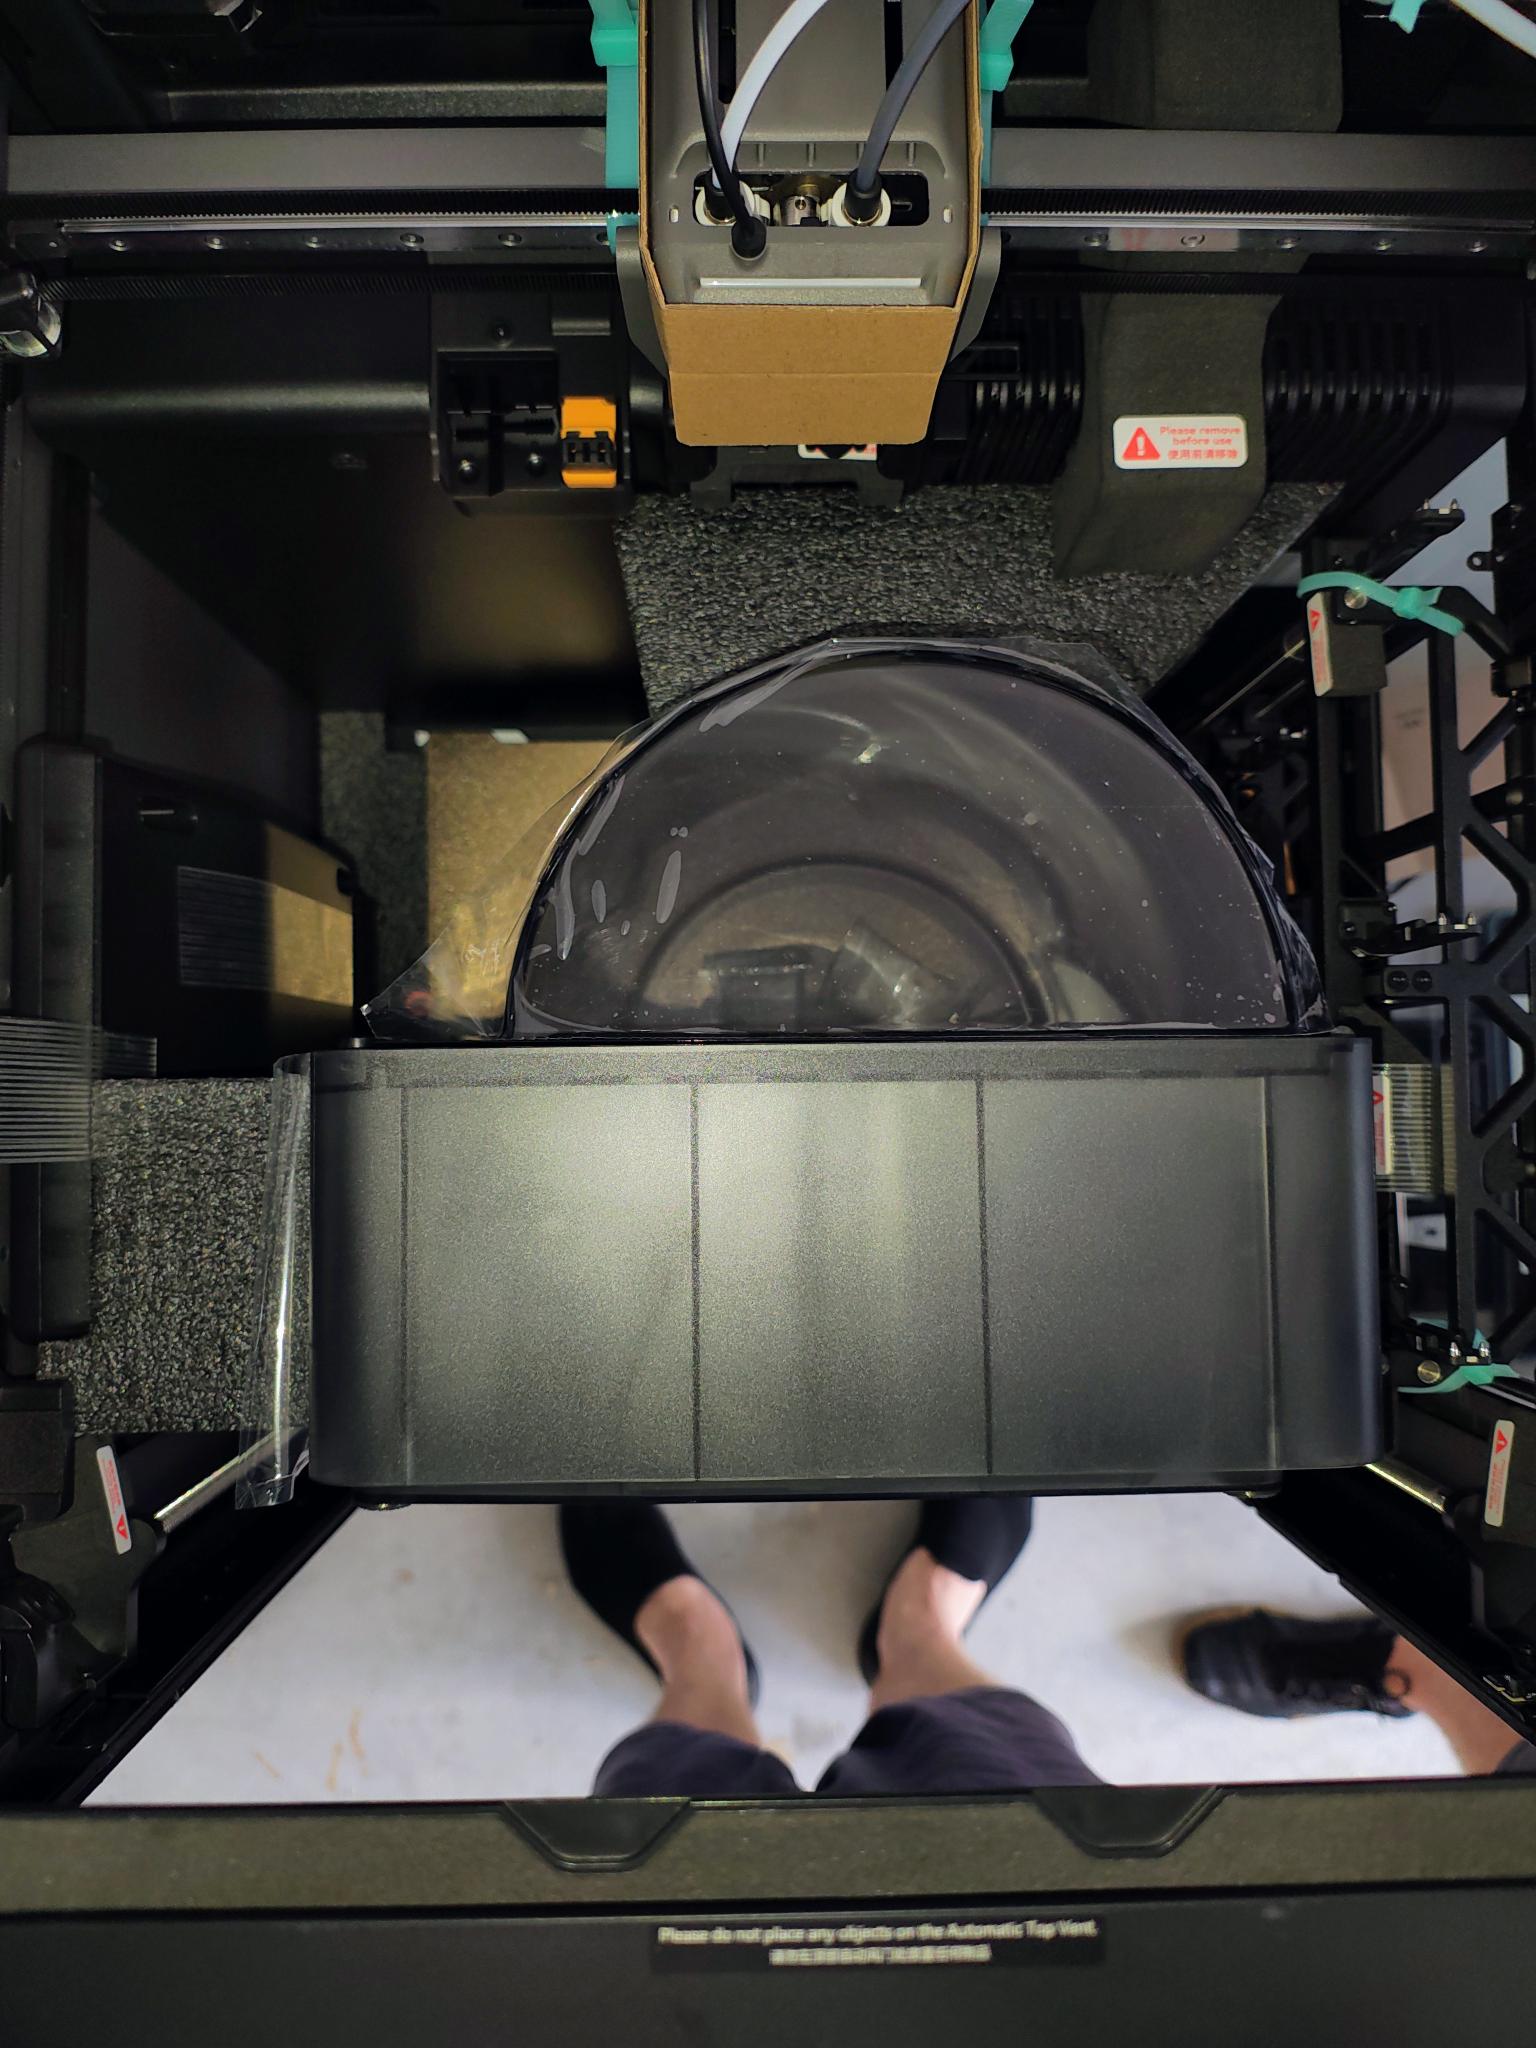
The base unit is a cabinet 492 (W) x 514 (D) x 626 (H) mm that needs an operating area of 700 x 1000 (allows the front door to open) x 700 mm (that excludes any top-mounted filament holders).
Initially, we put it on a folding plastic table, but quickly found that the print head inertia rocked it so much that it could missalign deposit lines.
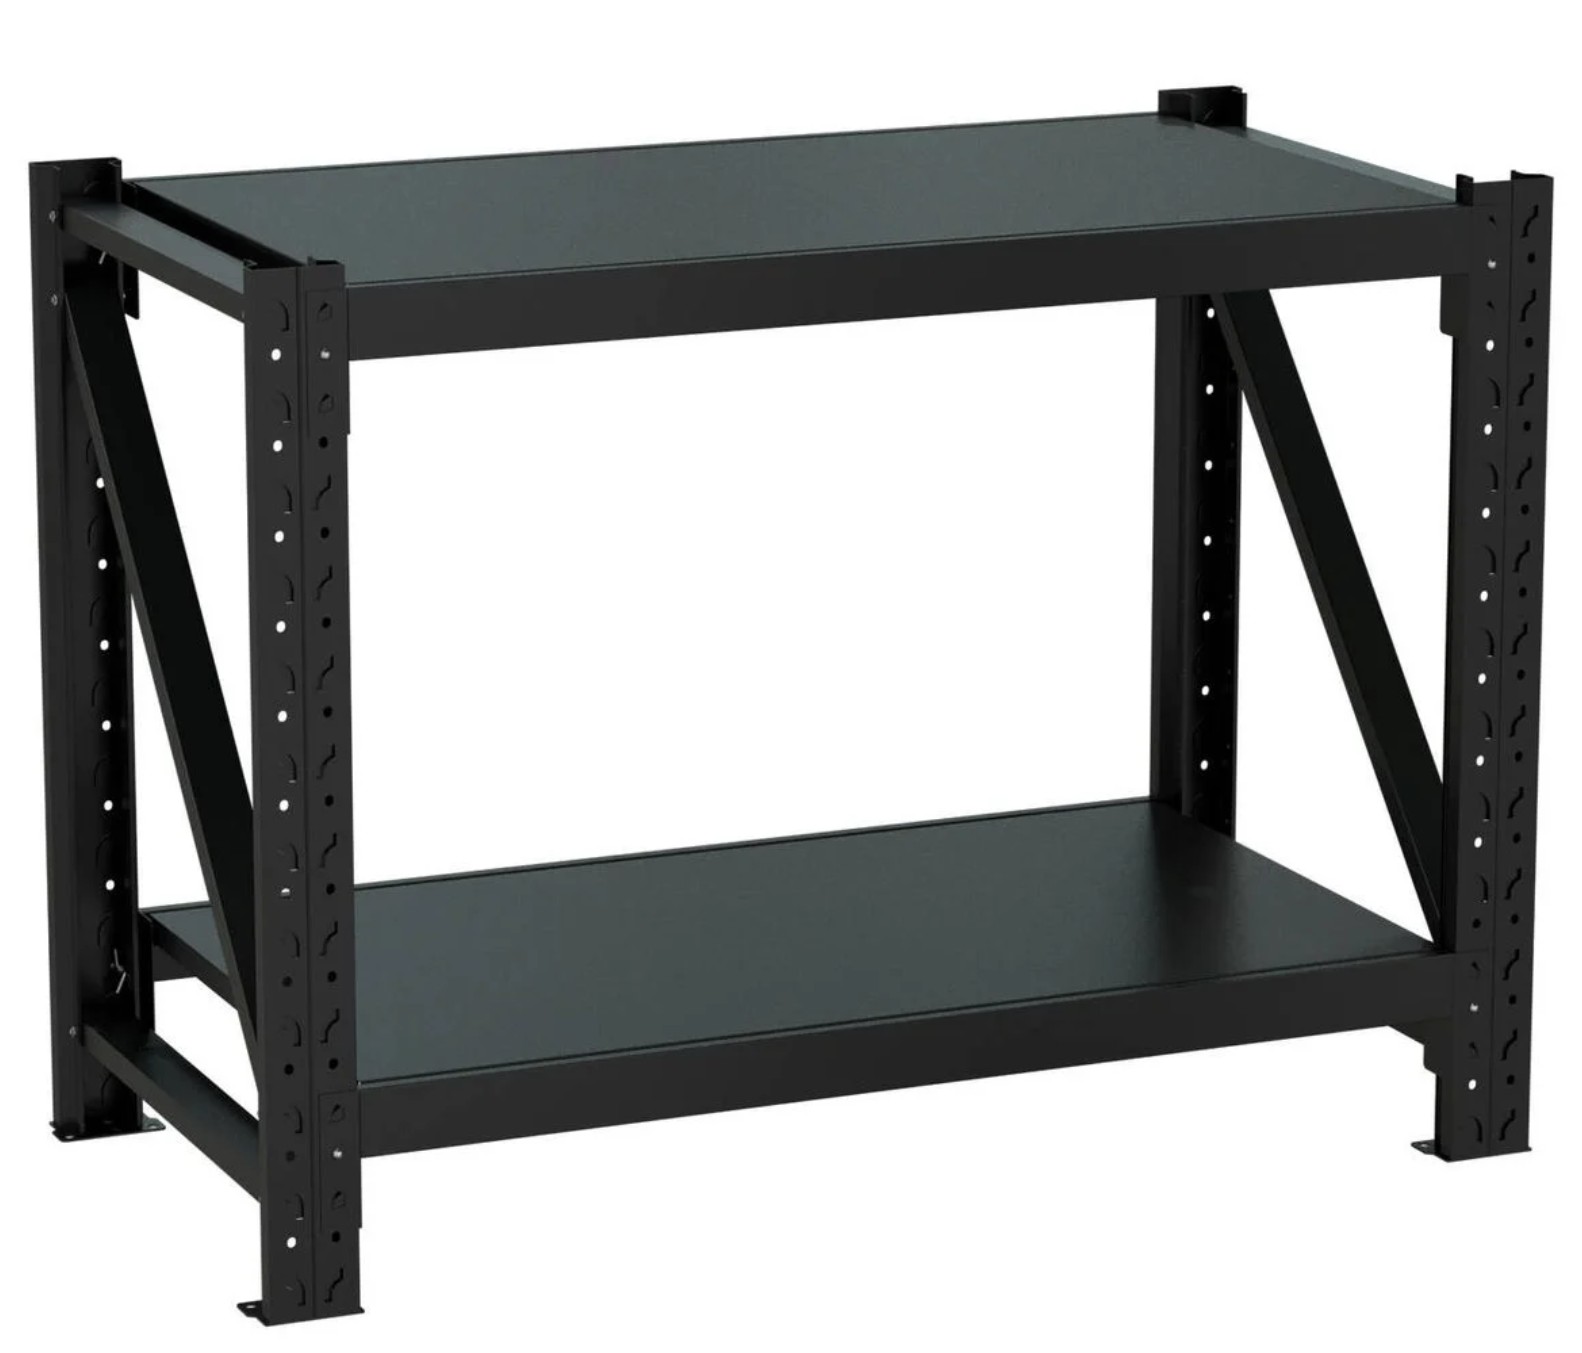
A quick trip to Bunnings and a $139 metal workbench seemed a good solution. It was, and it wasn’t. Great size, great price, but the machine still rocked on the metal top. Our quick solution was to get a piece of 12mm particle board cut to the top size. That provided the stability we needed. Note the base unit has rubber feet to allow for a small amount of rock!
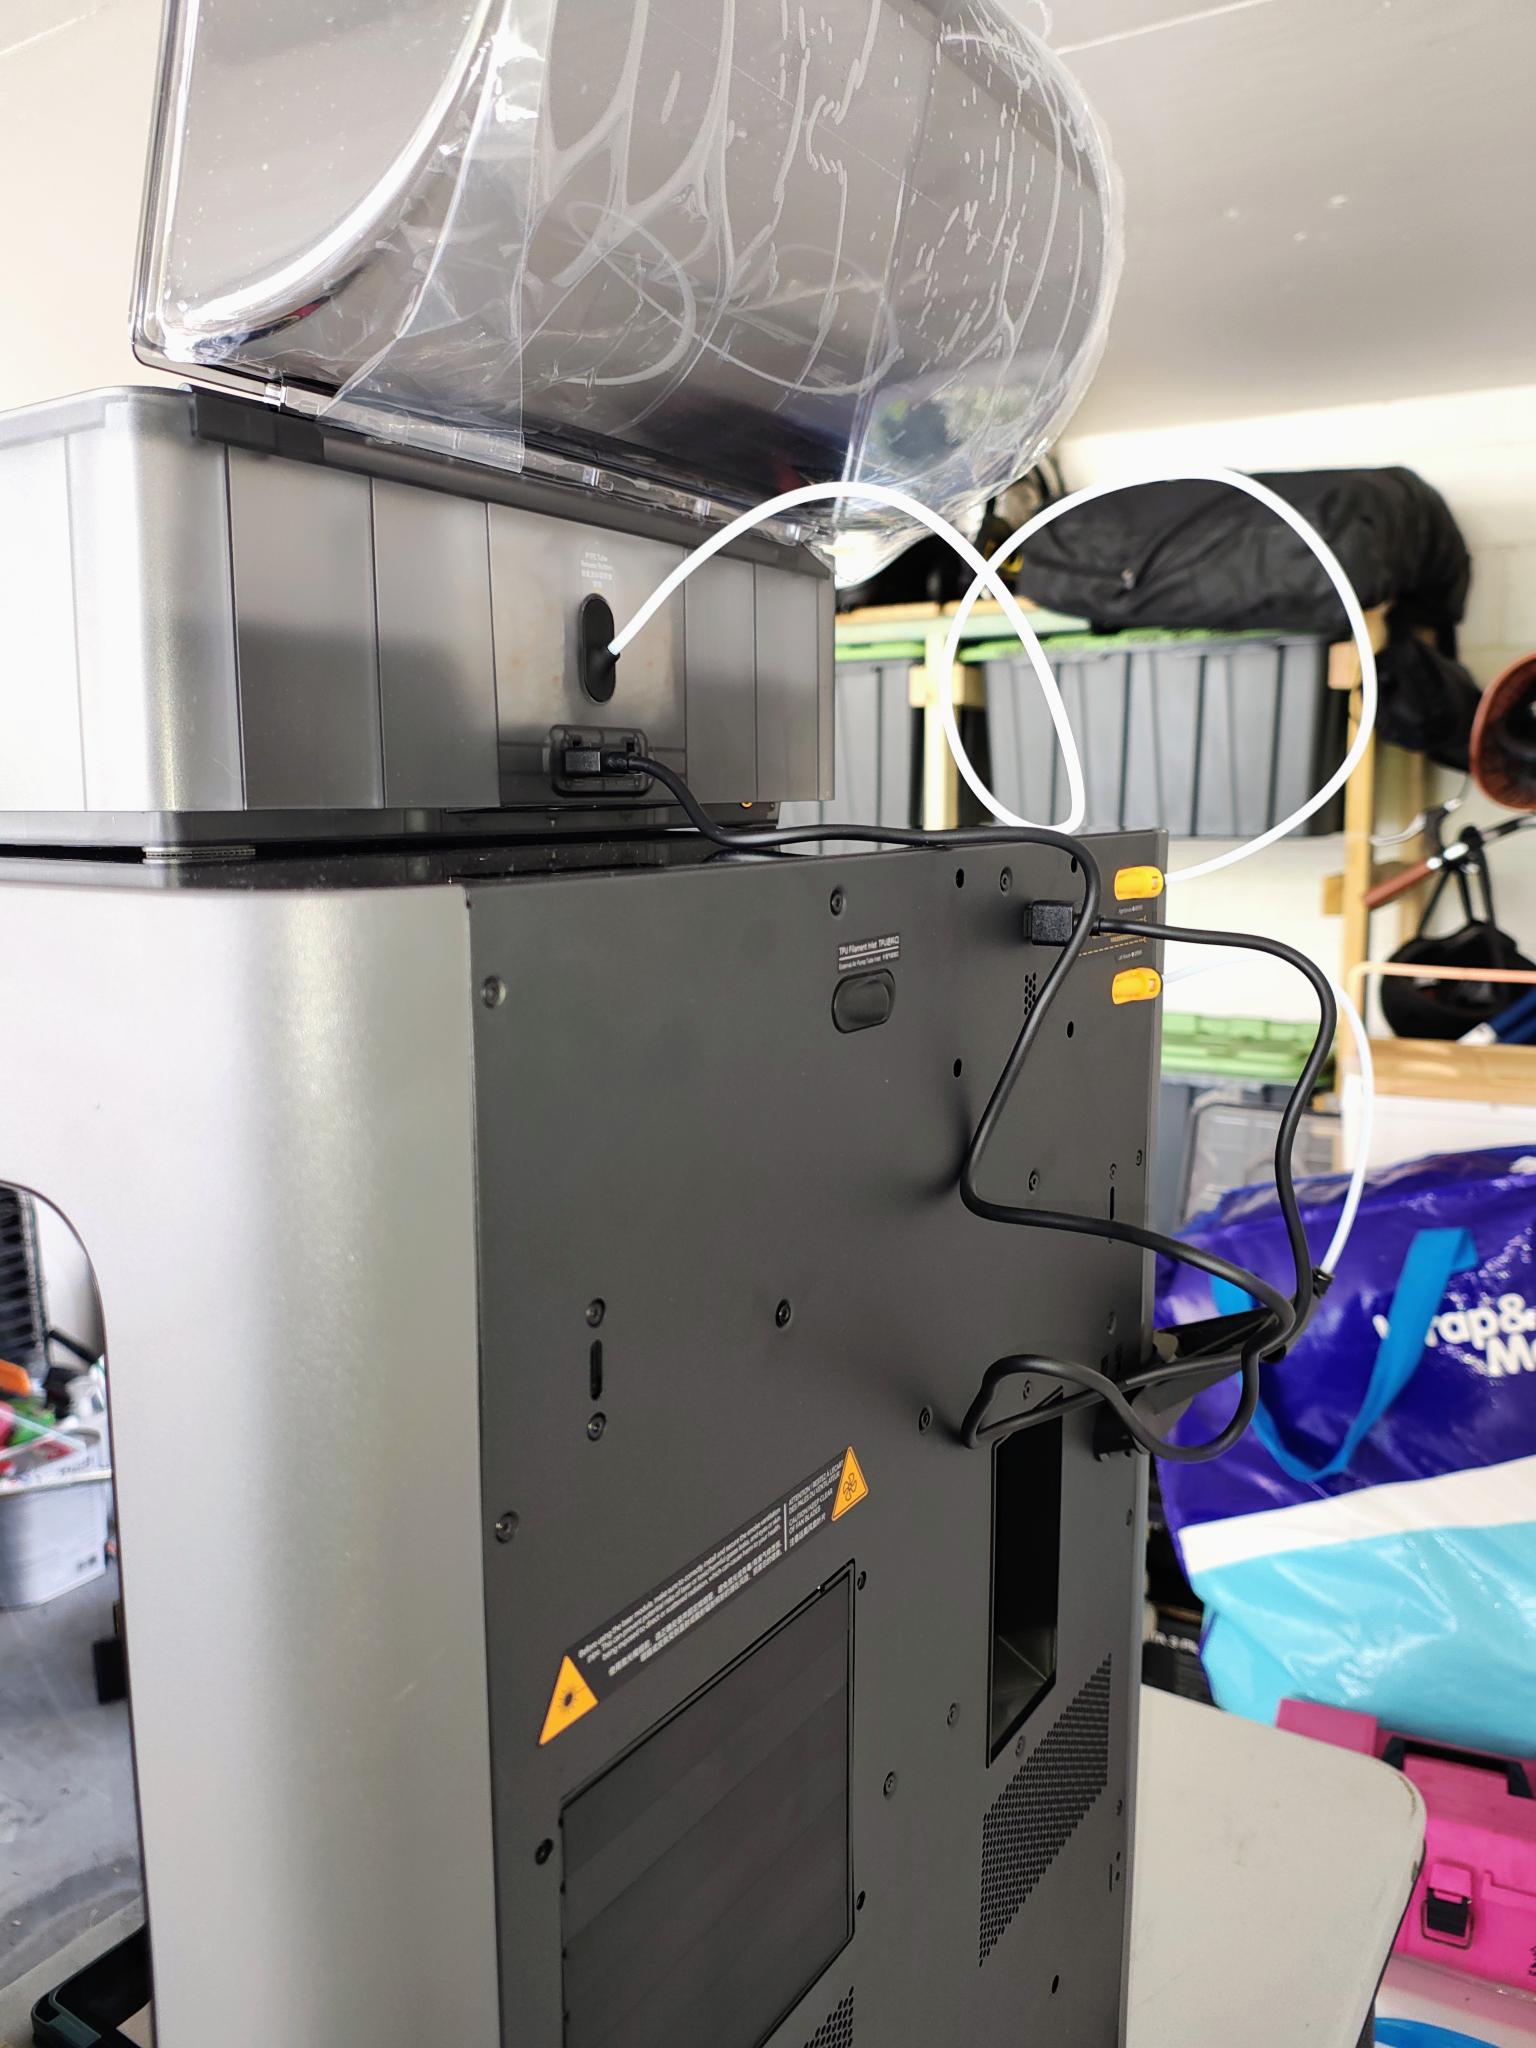
Wi-Fi
Yes, you need Wi-Fi, and garages are notoriously challenging to get a signal in. Fortunately, it does not require a huge bandwidth – Wi-Fi N 2.4 or 5GHz is fine, and it recognises mesh as long as WPA3 encryption is disabled (usually it is on 2.4GHz).
We used a TP-Link Deco BE25 Wi-Fi 7 BE5000 mesh on a budget satellite to extend about 10m from another satellite in the home (through four brick/concrete walls). It delivered about 20/10Mbps internet speed (this is the critical measurement and is more than enough to download plans to the printer) and 2400/2400 RxTx (speed to the satellite – a non-critical measure). It is not enough for CAD and cloud-based design, which you would do elsewhere.
It also allows for remote camera monitoring of print jobs and notifications.
We tried PowerLine Ethernet over Power, but the garage was on a different power circuit. These are usually an excellent option to get 500/50Mbps to the garage satellite.
Power
Next, we needed 1800W of power, and while that was not an issue in the garage, we only had 230V/10A/2300W available, and it was used for charging a plethora of electronic tools, e-bike and more. There is a solution that you should consider if continuous power at 1800W is needed for 3D print big and complex models.
A portable power bank capable of at least 1800W draw for at least an hour is an excellent idea. These can be used in UPS power pass-through mode as well. We recommend
- Bluetti 100 V2 1800W/1024Wh is the minimum and gives about 35 minutes of backup (RRP $1499)
- Bluetti 200 V2 2600W/2073.6Wh gives about 1 hour backup (RRP $2899)
- Bluetti 300 2400W/3014Wh gives about 1.5 hours backup (RRP $3499)
Look out for discount sales – you can usually get these for 10-20% less.
If you have solar and a battery, you won’t need the powerbank unless 1800Wh is too much for the system. Or make sure you print at off-peak,
Filament – perhaps the most challenging thing for a newbie
Remember this is additive printing, so it does not mix colours like an inkjet. The filament you have is what you get. To be clear, think of colours like a Rubik’s Cube – yellow, blue, black, red, green and pretty well every colour you can think of.
The AMS (Automatic Material System) 2 Pro has four filament roll holders, and the H2C has a manual external roll holder. That is five colours you can play with. Of course, if you want more, you can add up to 4 more AMS units.
Now, filament may be plastic (PLA), but the Bambu Wiki tells you so much more. We suggest you read the Beginner’s Guide as well.
Filament needs to be dry – very dry, or it can spoil or ruin prints. The AMS 2 Pro has silica gel pouch holders (easy to buy and replace), but if you end up with more rolls, you can buy filament ‘rice’ boxes for storage or use quality ziplock plastic bags (the type with multiple zip locks on each bag).
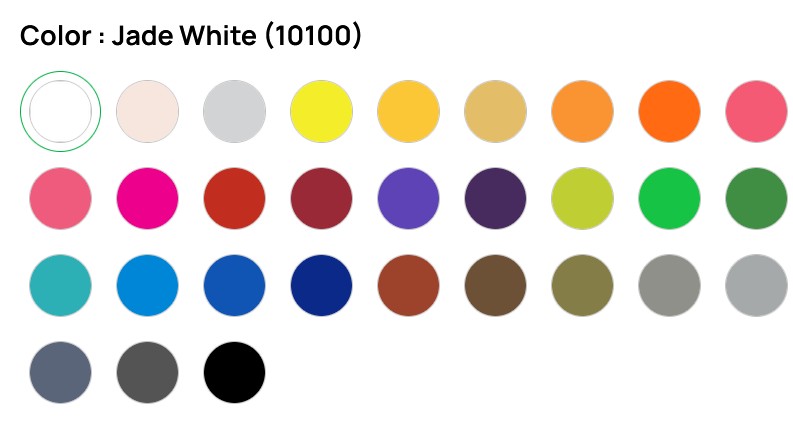
Most will buy the PLA Starter pack of Bambu green, Jade White, Grey and Black. (RRP $143.96, but look out for sales).
Banbu has a 0.2mm PLA 1kg each Lithophane bundle of cyan, magenta, yellow and white pack wth spools best for 3D art or photo prints (the colours are not mixed).
There are hundreds of colours and types, and free delivery for orders over $77.
Initial impressions – a huge grin
In so many ways, I am glad we started with the H2C, as it’s pretty close to perfect. With no prior knowledge, we started printing within minutes from the Makersworld templates. While there is an element of excitement and satisfaction in printing other people’s work, we really need to learn how to create a 3D device from scratch. I want to know how to make a cog (for a vintage child’s toy), a new casing for a power drill (that has cracked), all manner of custom hooks and holders, and more.
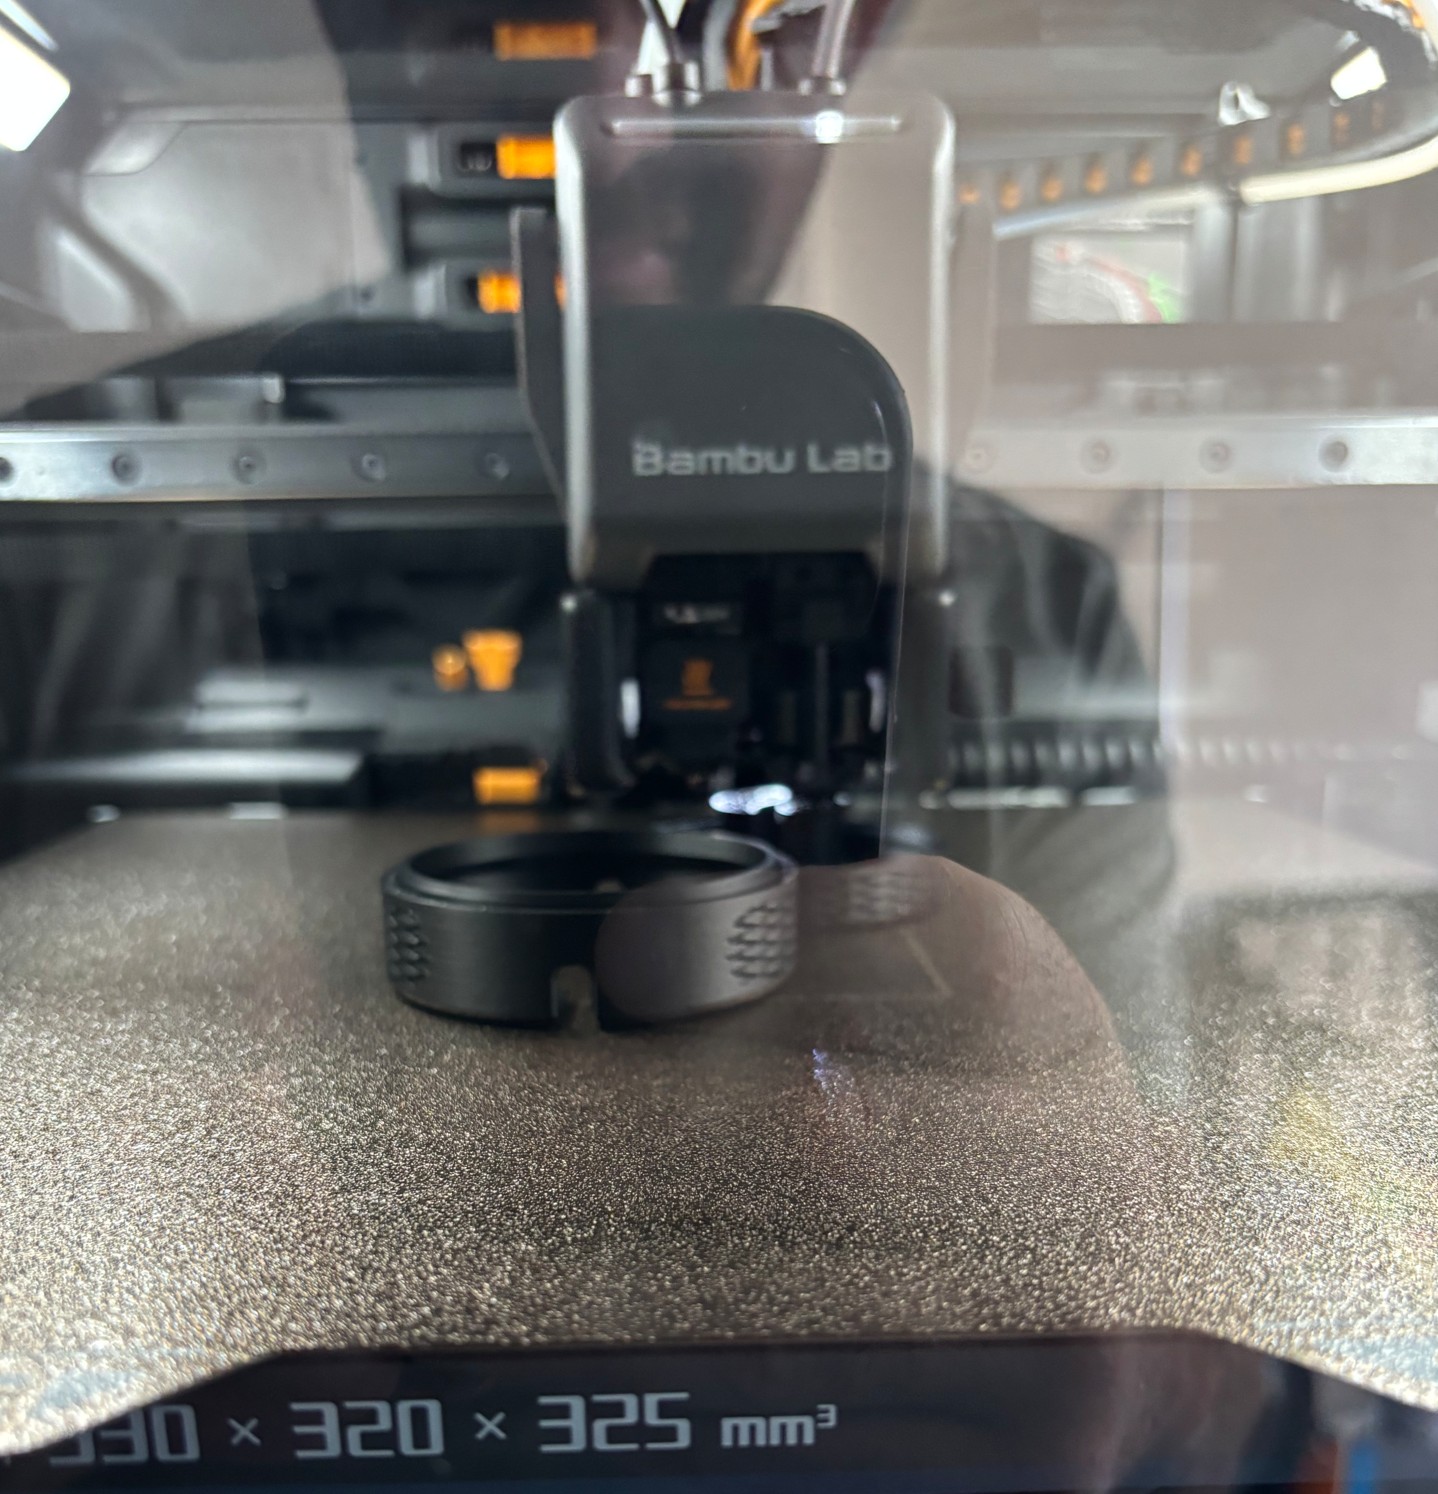
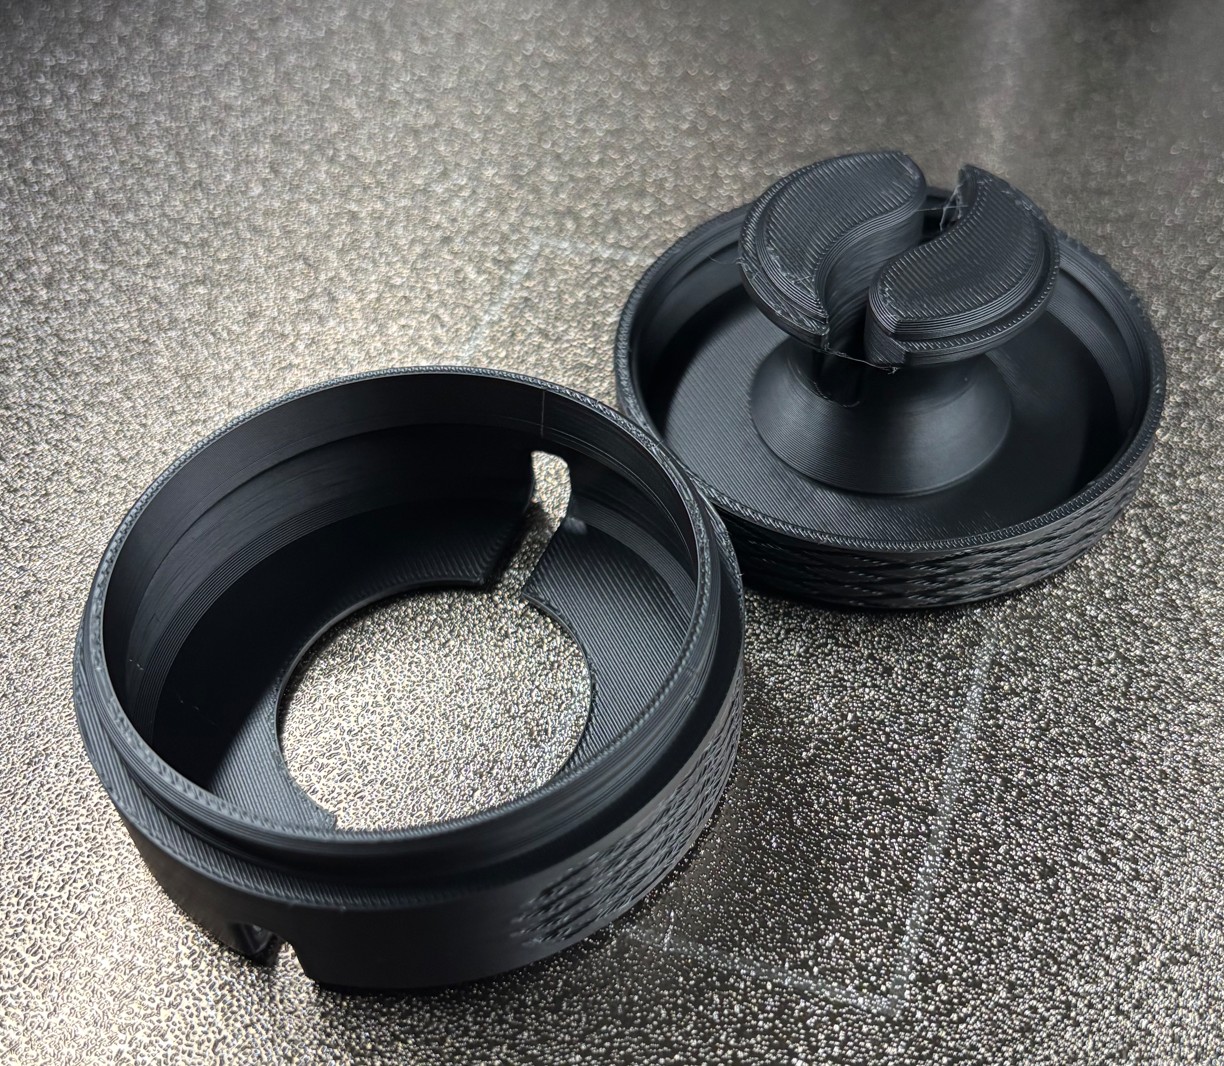
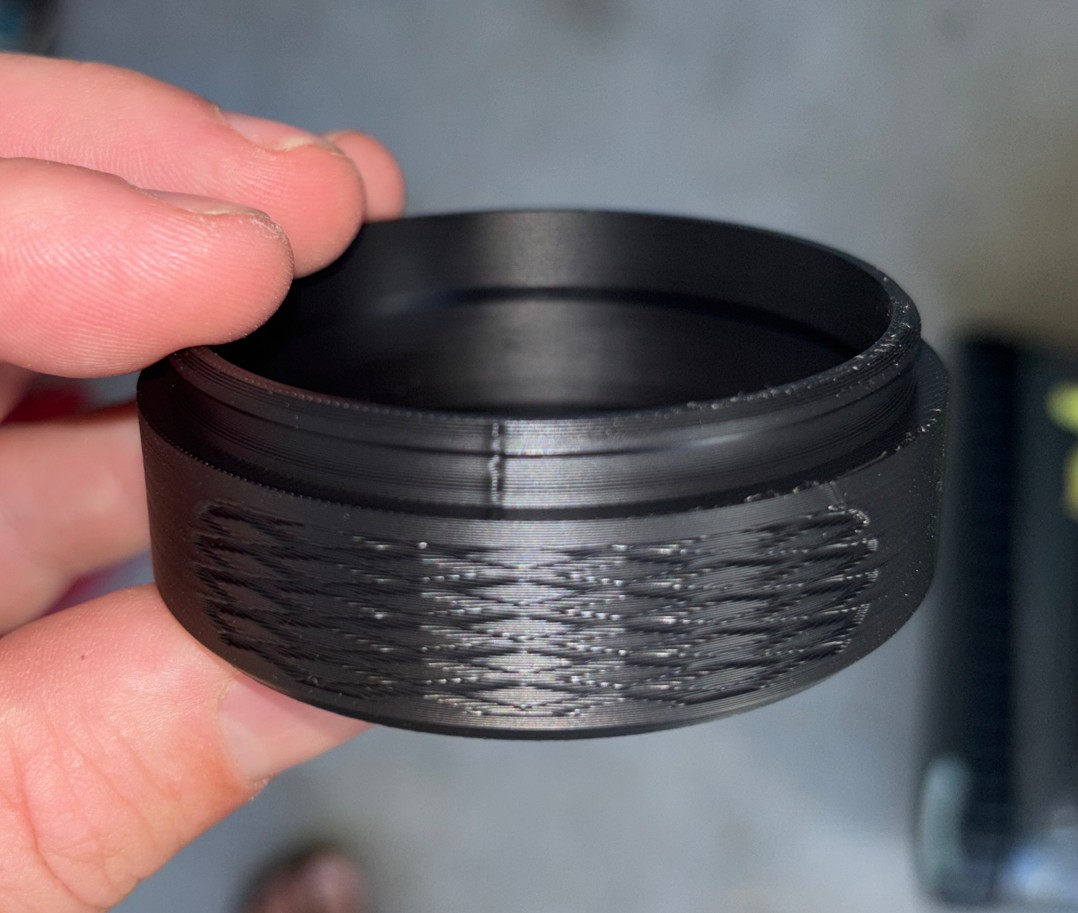
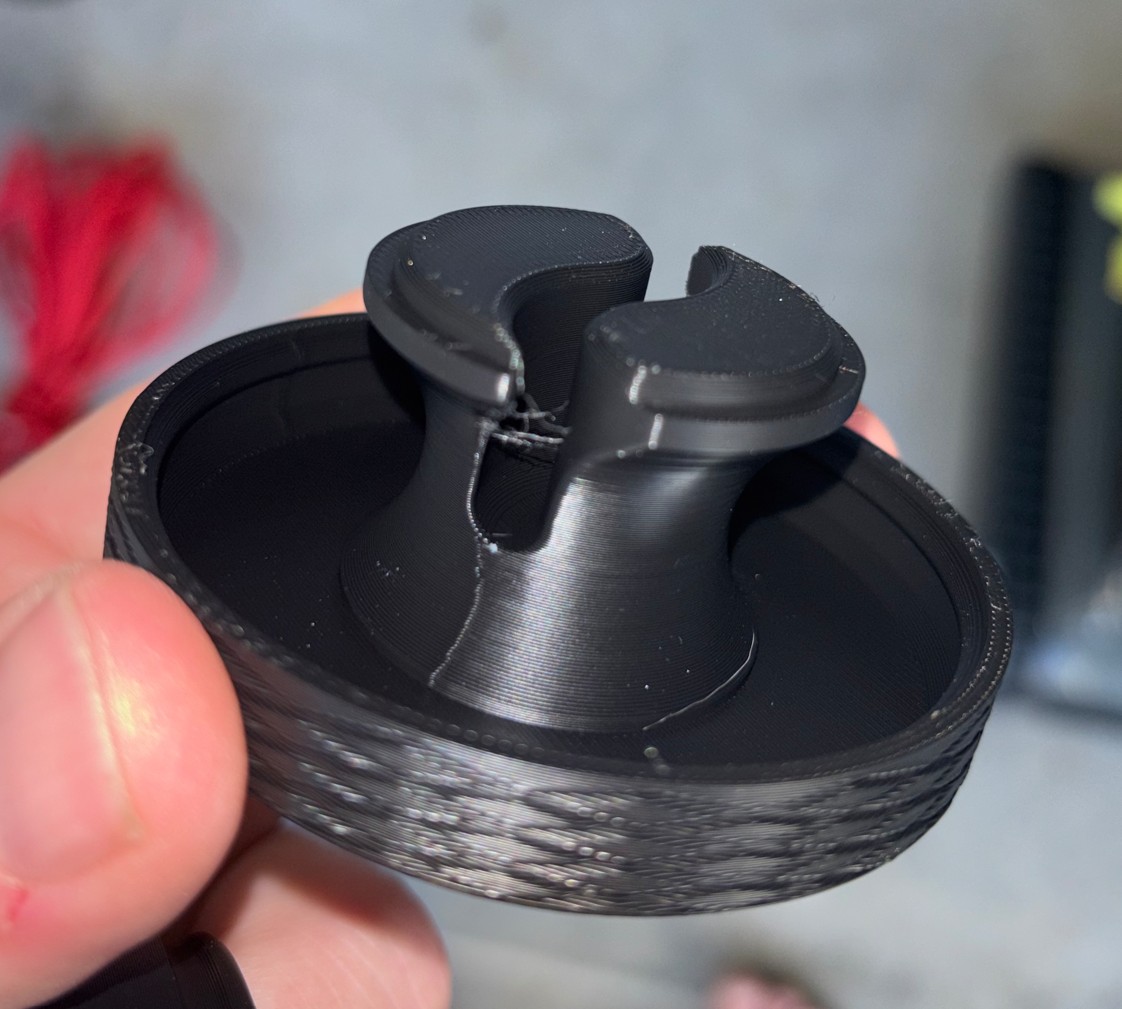
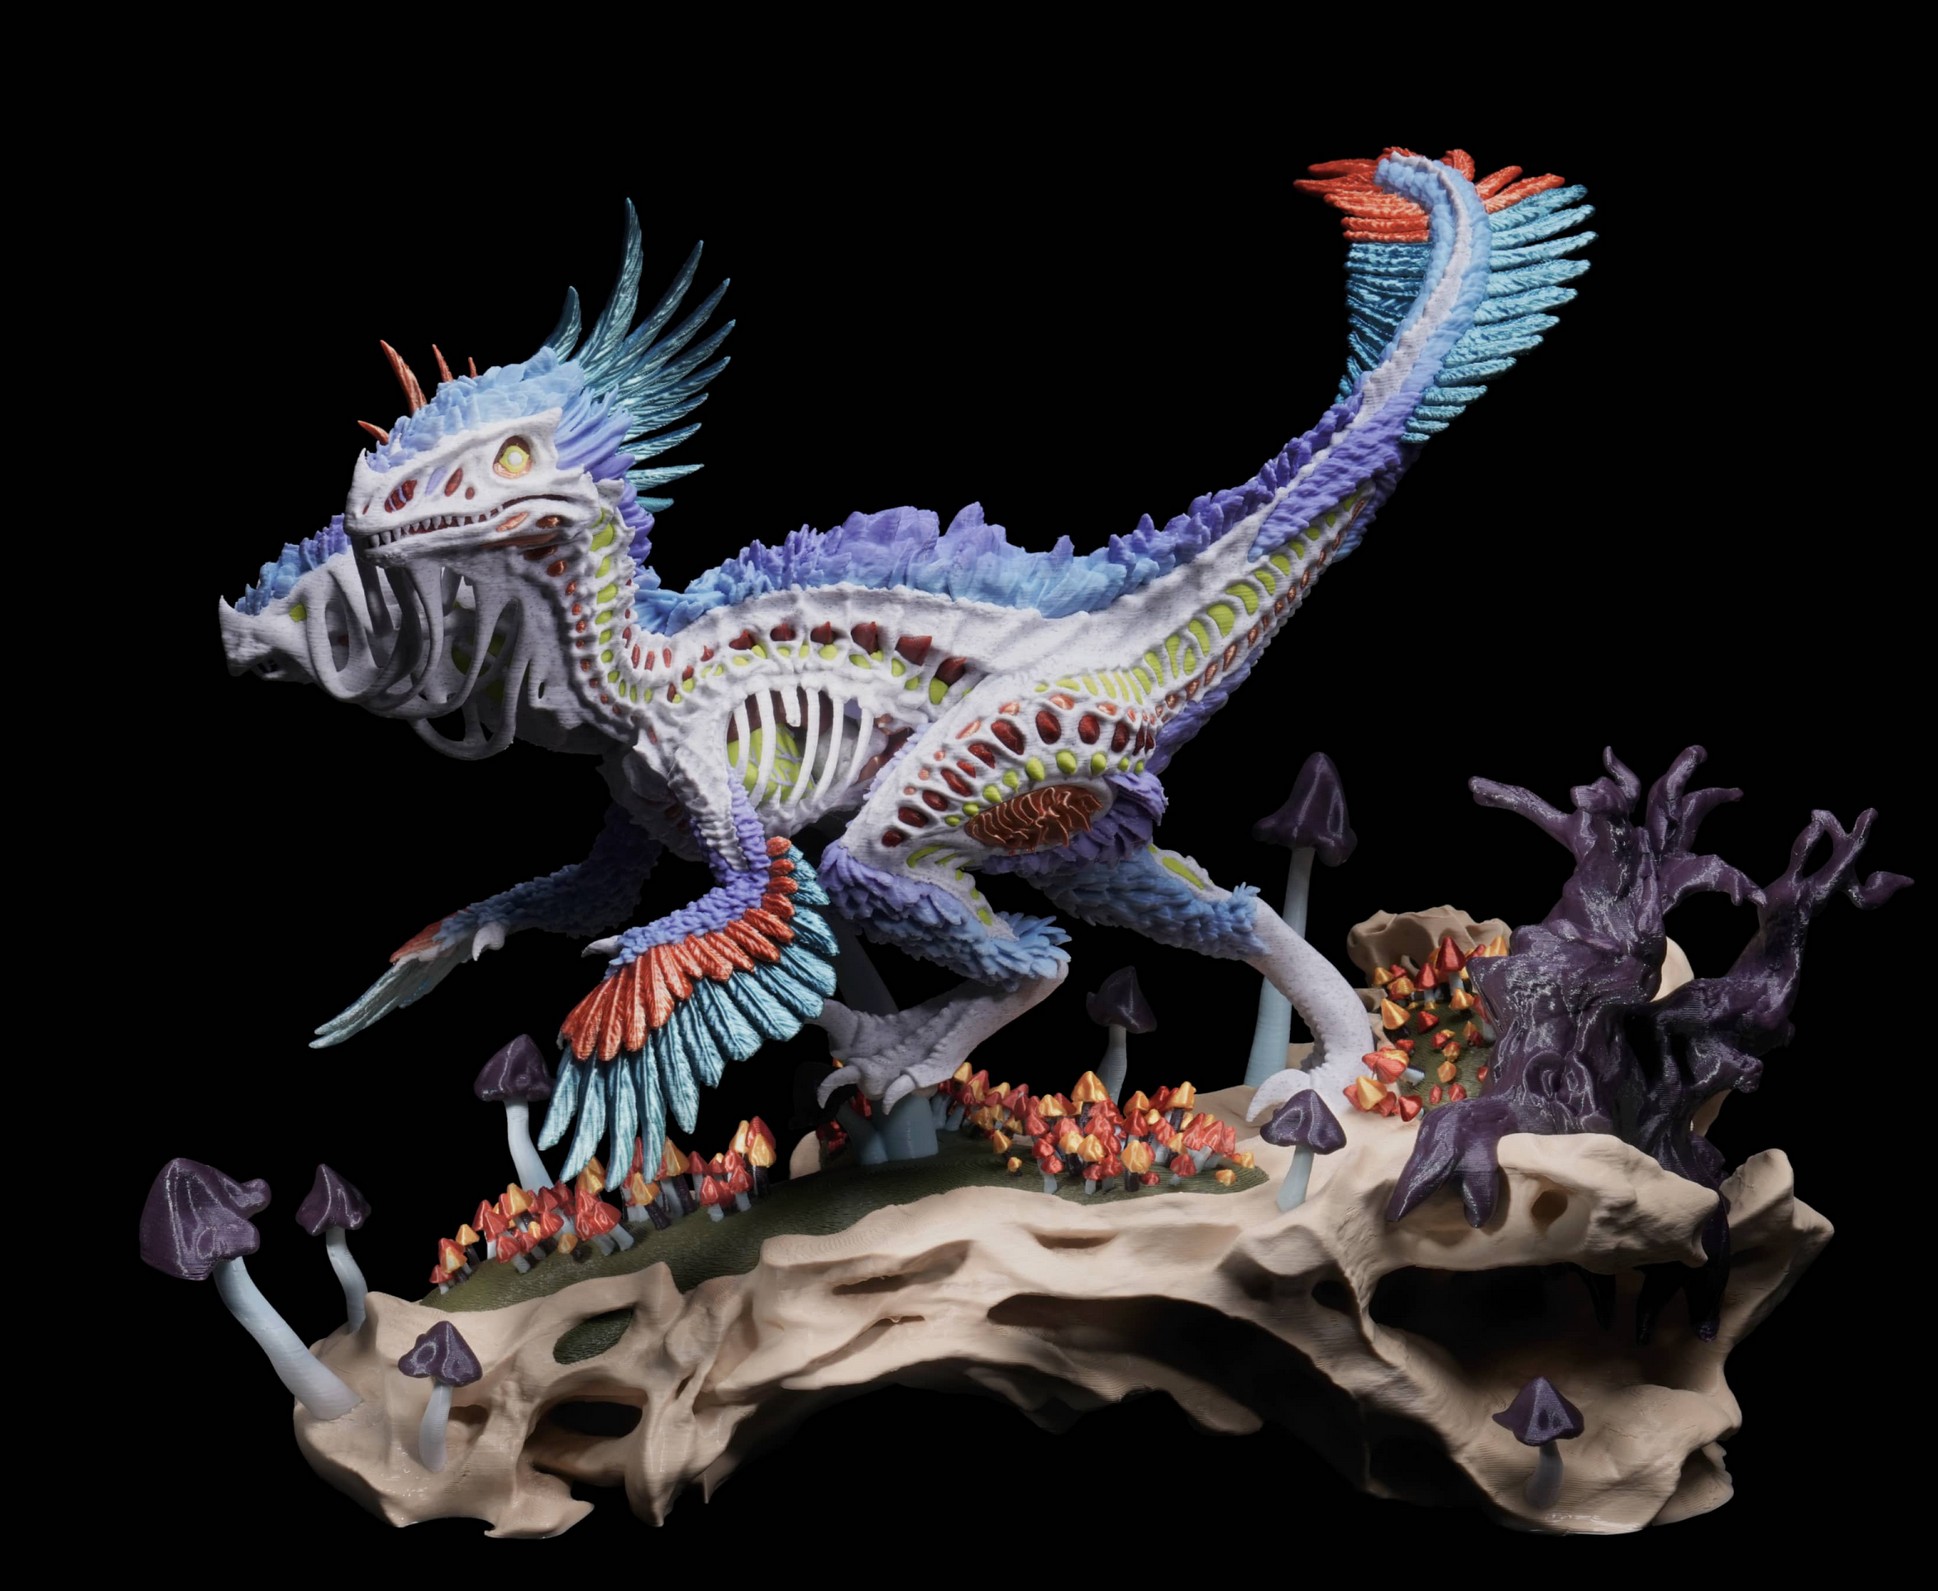
The 3D prints are almost perfect. There are no visible layer lines, no need to bevel (arris) edges, no annoying hair-like strings to tidy up – the items are ready to go.
Having four/five colours online is fantastic – a single head/colour is so boring and limited. And it self-purges – minimal waste.
In Bambu Lab H2C 3D Printer Part 2: After a few weeks (review), we will give you the benefit of our experimental experience over a few weeks.
Should you have any questions, let us know at [email protected].